Step-by-Step Guide to Crochet Joined Rounds
Learn how to master crochet joined rounds with this step-by-step guide. Enhance your skills and create seamless projects with ease. Discover the essential techniques and tips for perfect crochet joining rounds today.
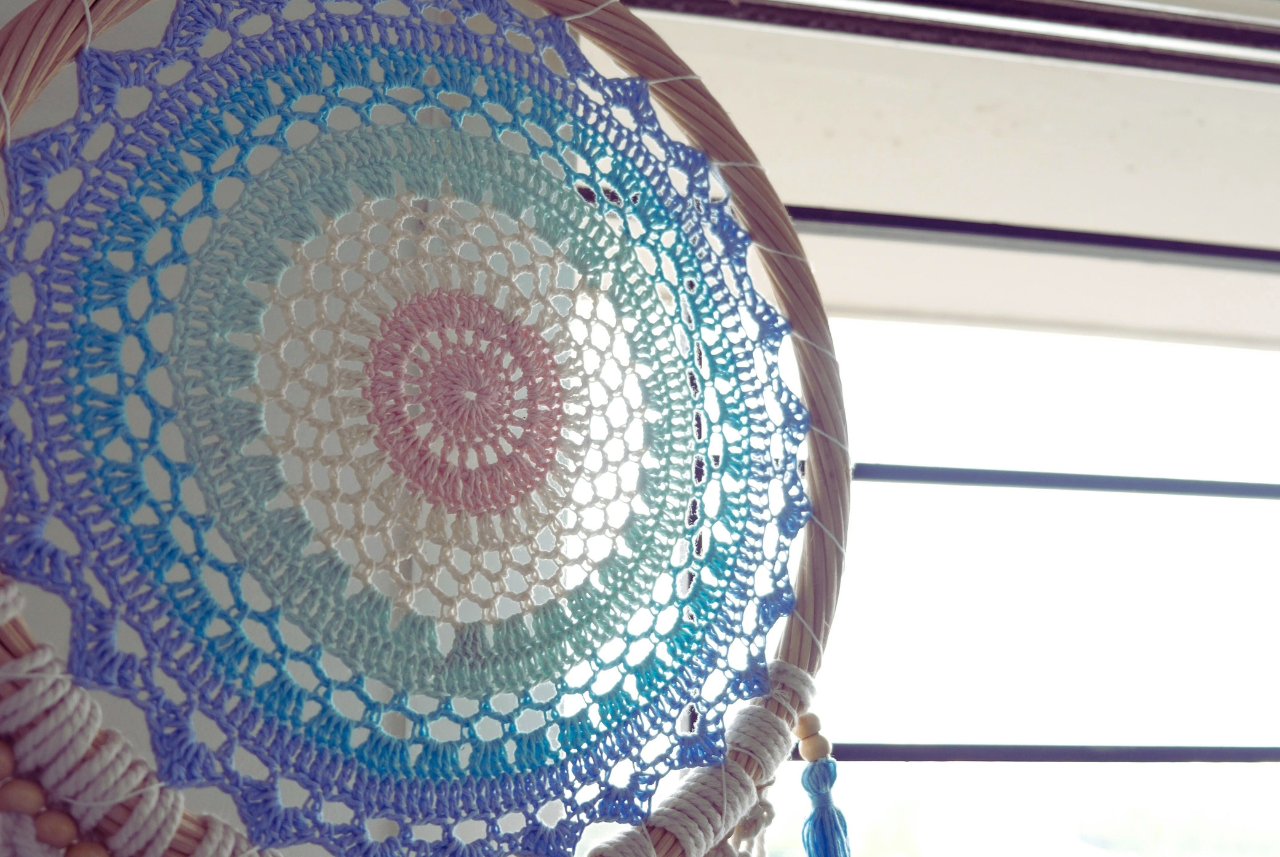
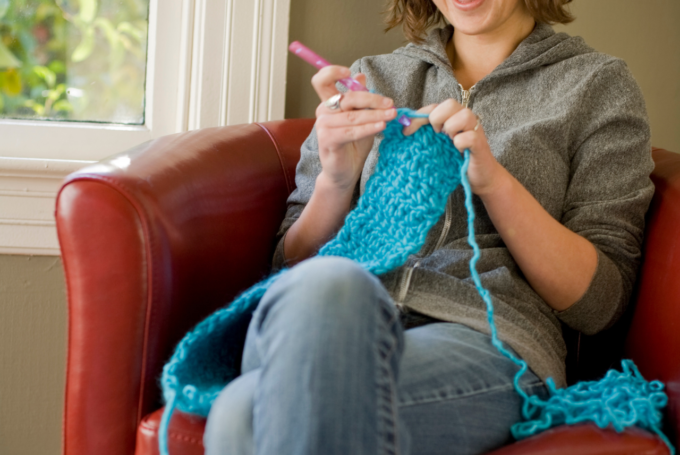
Crochet joined rounds are a fundamental technique for creating circular and tubular projects. They are essential for making hats, bags, and doilies. Understanding how to join rounds can elevate your crochet skills.
Joining rounds involves connecting the end of one round to the beginning. This creates a seamless and professional look. The most common method is using a slip stitch.
A slip stitch is simple yet effective. It ensures a neat join between rounds. Mastering this technique opens up new possibilities in crochet.
This guide will walk you through the process step-by-step. You’ll learn key terms and techniques. Whether you’re a beginner or intermediate crocheter, this guide will enhance your skills.
What Does Join Mean in Crochet?
In crochet, “join” refers to connecting the end of one round to the beginning of the same round. This creates a closed loop, completing the round seamlessly. Joining is crucial for crafting items like hats, which need smooth edges.
Joining is typically done using a slip stitch. It involves pulling a loop through existing stitches, which neatly connects rounds. Mastering this simple stitch will help improve your work’s appearance.
Understanding “join” is key for producing neat and professional projects. A well-joined round can enhance the visual appeal and durability of your piece. Practicing this skill is fundamental.
Key points about joining in crochet include:
- It creates a circular or tubular structure.
- Commonly done with a slip stitch.
- Essential for smooth, clean edges.

These aspects highlight the significance of the join in crafting. Understanding how and when to join will enable you to tackle complex crochet patterns confidently.
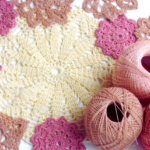
Tools and Materials Needed for Crochet Joined Rounds
Before you begin crocheting joined rounds, gathering the right tools and materials is essential. Having everything ready ensures a smooth crafting process.
You’ll need the following:
- Crochet hook (appropriate size for your yarn)
- Yarn (in your preferred color and fiber)
- Stitch markers
- Scissors
- Tapestry needle for weaving ends
These tools are standard for most crochet projects. Choosing the right yarn and hook can influence your project’s size and texture.

Investing in quality tools can also enhance your crocheting experience, making it easier and more enjoyable. Ensure your workspace is organized and well-lit for optimal results.
Understanding Crochet Joined Rounds vs. Continuous Rounds
Crochet rounds can be joined or continuous, each offering unique effects. Knowing their differences helps in pattern reading.
Joined rounds end with a slip stitch, connecting the last stitch to the first. This creates a clear end and start point in each round.
Continuous rounds, or spirals, do not use joins. You move directly into the next round, creating a seamless spiral effect.
Consider these points when choosing your method:
- Joined rounds are used for flat, symmetrical projects.
- Continuous rounds are ideal for creating spirals like amigurumi.
- Choose based on your project’s design needs.

Understanding these methods enhances your crochet versatility. It allows you to tailor projects to desired textures and shapes. Each method offers specific qualities for various project types. Practice both to expand your crochet skills and adapt to any pattern with ease.
How to Start Crochet Joined Rounds: The Magic Ring and Starting Chain
Starting a crochet round requires a bit of skill, but you can easily master it. The magic ring and starting chain are two popular methods.
The magic ring creates a tight, hole-free center. It’s ideal for circular projects that need a neat finish. To make a magic ring, loop the yarn around your fingers, creating an adjustable loop. Then crochet your first round stitches into this loop.
The starting chain sets the height for your stitches. It’s useful when you want a specific width or height from the start. Simply chain a few stitches and join the last one to the first with a slip stitch.
Key points:
- Magic Ring: No hole in the center.
- Starting Chain: Determines stitch height.
- Use slip stitch: To complete the circle.
Choose a method based on your project needs. Experiment with both to see which suits your style. Mastery of these techniques will make your crochet rounds look professional and polished.
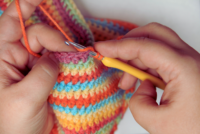
Step-by-Step: How to Crochet Joined Rounds with Slip Stitch
Crocheting joined rounds with a slip stitch is a foundational technique. It ensures a clean, polished look on your projects.
To start, create a magic ring or a starting chain. This forms the base of your round. Both methods effectively begin your circular crochet work.
Step 1: Begin Your Round
- Start with a ring or chain, as preferred.
- Crochet your first row of stitches into this base.

Step 2: Complete the First Round
- Crochet your stitches as per the pattern.
- Count your stitches to ensure accuracy.
Once you’ve reached the end of the round, it’s time to join. This process uses a slip stitch for a smooth connection.
Step 3: Execute the Slip Stitch Join
- Insert your hook into the first stitch of the round.
- Yarn over the hook.
- Pull through both loops on the hook.
This completes the round without visible seams, creating a neat finish.
 by diego fabra (https://unsplash.com/@armada42)
Step 4: Start a New Round
Chain the required number of stitches. This sets the height for the next round. Then continue crocheting into each stitch.
Checking Your Work
- Ensure your rounds are even.
- Double-check the stitch count after each round.
Step 5: Maintain Consistency
Always maintain tension to keep your stitches uniform. This consistency is key to a tidy, professional appearance.

Practice is essential in mastering these steps. Each round builds upon the last, enhancing your crochet skill set. Take your time and enjoy each step of the process. With each project, your confidence and expertise will grow.

Tips for Neat and Seamless Crochet Joining Rounds Slip Stitch
Achieving neat joins enhances the overall look of your crochet projects. Here are some simple yet effective tips.
Firstly, always aim for consistent tension throughout your work. Uneven tension can lead to bumpy joins and affect the overall appearance. Using a stitch marker can help you keep track of the start and end of rounds.
Additionally, consider working the slip stitch join into the back loop only. This subtle technique can make joins less noticeable. Another option is to use a standing stitch to start new rounds, which can create a smoother transition.

Here’s a quick checklist for perfection:
- Use consistent tension
- Work slip stitch into the back loop
- Utilize stitch markers
- Consider standing stitches for clean starts
These tips help ensure your crochet joins are seamless and professional-looking. Your finished items will have neat, tidy edges, enhancing their beauty and functionality.
Common Mistakes and How to Fix Them
Even seasoned crocheters can make mistakes when joining rounds. Let’s address some common issues and solutions.
One frequent problem is miscounting stitches, which causes uneven edges. Keep track of your stitches with counters or markers. Another error is loose or tight slip stitches, affecting the round’s appearance. Practice achieving even tension to avoid this.
Mistakes such as working into the wrong stitch can skew your pattern. Ensure you correctly identify the first stitch of each round.
Quick Fix List for Common Mistakes:
- Miscounted stitches: use markers
- Uneven tension: consistent practice
- Incorrect stitch: double-check placement

Awareness and correct techniques will greatly improve your crochet projects. Remember, practice is key to avoiding these common pitfalls.
Variations: Alternative Joining Methods and Decorative Joins
Joining rounds can be more than just slip stitches. Many crocheters explore alternative methods for aesthetic effects. Decorative joins create unique textures, adding flair to any project.
Some joining techniques include using chain stitches or single crochet for visible and artistic joins. These methods offer distinct looks compared to traditional slip stitches. Consider trying these variations to breathe new life into your work.
Alternative Joining Methods:
- Chain stitch join
- Single crochet join
- Seamless join

Experimenting with these alternatives allows creative freedom in your projects. With practice, you can customize any pattern with these decorative joins.
Frequently Asked Questions About Crochet Joined Rounds
Many beginners wonder about the purpose of joining rounds. It helps maintain the circular shape and provides a clean finish. Learning this technique opens doors to more advanced crochet projects.
Understanding the difference between continuous and joined rounds can be confusing. Continuous rounds spiral continuously. Meanwhile, joined rounds end and start anew, creating distinct levels.
Common FAQs:
- What does join mean in crochet?
- How do I ensure my rounds are even?
- Can I use different joining methods?
Get answers to these questions by practicing and experimenting with different projects. This approach will deepen your understanding.
Practice Project: Simple Coaster Using Crochet Joined Rounds
Creating a simple coaster can help solidify your understanding of crochet joined rounds. This practice project is perfect for beginners. It allows you to experiment with different techniques.
Start by gathering your materials. Choose a yarn that is medium weight for ease of handling. A 5mm crochet hook is a good choice for this project.
Steps to Create a Simple Coaster:
- Begin with a magic ring.
- Chain two for height.
- Complete ten double crochets into the ring.
- Close the round with a slip stitch.
Practicing this project will enhance your joining skills. It’s an excellent way to create something beautiful while learning.

Final Tips and Next Steps for Mastering Crochet Joined Rounds
To master crochet joined rounds, practice regularly. Consistency will improve your skills and boost your confidence. Small projects can provide valuable experience.
To further enhance your crocheting, explore various joining methods. Trying different techniques will develop your versatility and style.
Next Steps:
- Experiment with different yarns and hooks.
- Try joining rounds in larger projects.
- Watch tutorials to deepen your understanding.
- Join crochet groups or forums for support.
Approaching each new project with enthusiasm will speed up your learning process. With time and practice, you’ll create stunning crochet designs, reflecting both skill and creativity.


Exploring types of crochet patterns stitches Techniques
Discover the art of different kinds of crochet stitches with our detailed...

Understanding Crochet RS: Techniques and Tips
Master crochet RS techniques and terms with our guide. Discover what RS...
How to teach someone to crochet
Master the art of teaching crochet with step-by-step lessons. Learn how to...
Creating a Beautiful Crochet Flower Bouquet
Craft a stunning crochet flower bouquet with our easy-to-follow patterns. Perfect for...


Leave a comment