Create Your Own Crochet Horse Pattern?
Craft your own crochet horse pattern with ease! This guide offers step-by-step instructions, materials, and tips to create a unique handmade gift.
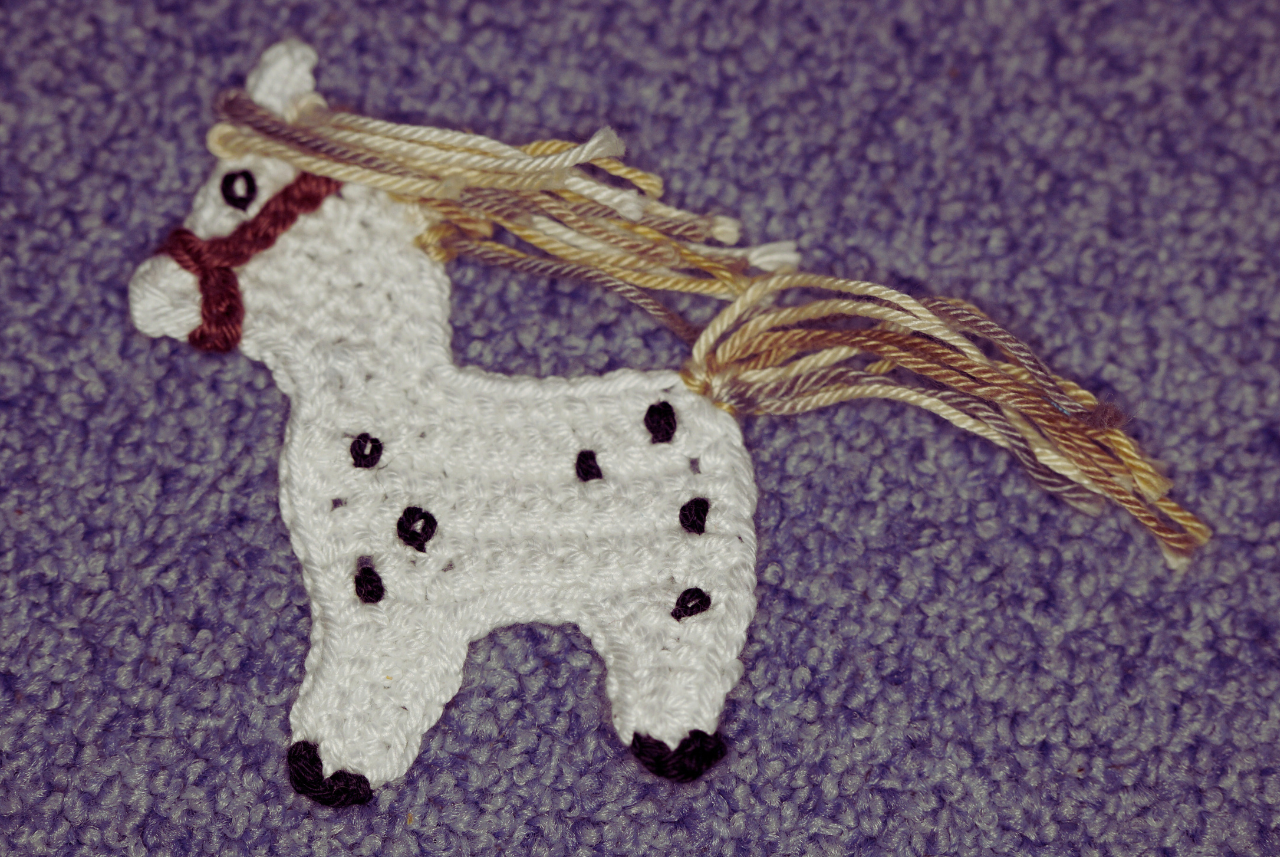
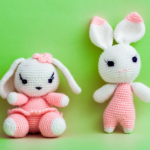
Crocheting is a beloved craft that brings joy and creativity to many. It’s a versatile art form, allowing you to create anything from cozy blankets to adorable animals. One delightful project is crafting a crochet horse pattern.
Creating a crochet horse is not only fun but also rewarding. It makes a unique handmade gift that shows thoughtfulness and care. Whether you’re a beginner or an experienced crocheter, this guide will help you create your own crochet horse.
You’ll learn about the essential materials and tools needed for this project. We’ll cover everything from yarn choices to crochet hooks. Understanding the basics of crochet stitches is crucial, and we’ll guide you through them.

Every crochet horse is unique, making it a memorable keepsake. As you craft one, you create a gift filled with warmth and creativity.
Essential Materials and Tools for Your Crochet Horse
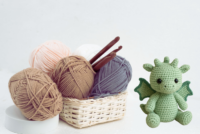
Creating a crochet horse requires certain materials and tools to ensure your project turns out beautifully. The right supplies set the foundation for a successful crafting experience. Choosing quality materials enhances both the process and the finished product.
Start with selecting the yarn, which greatly affects the look and feel of your crochet horse. Different yarn types offer varied textures and colors. Consider weight and texture to match your desired outcome.
Equally important are the tools you’ll use. Crochet hooks come in various sizes and materials. Match the hook size to your yarn for best results. You’ll also need accessories like stuffing and safety eyes for detail.
Essential items include:
- Yarn
- Crochet hooks
- Stuffing
- Safety eyes
- Scissors

By gathering these materials and tools, you’re well-prepared to begin crafting a beautiful crochet horse.
Understanding Crochet Stitches and Pattern Basics
Learning the basic crochet stitches is crucial for creating your crochet horse. These stitches form the backbone of any crochet pattern. Each stitch contributes to the horse’s structure and design.
Start with the single crochet stitch, which is simple yet versatile. It provides a tight and sturdy fabric, perfect for amigurumi like crochet animals. Mastering this stitch builds a strong foundation.
Double crochet stitches offer more height and texture. They make patterns more interesting and intricate. Slip stitches are essential for joining pieces or finishing rounds.
To effectively read a crochet pattern, understand common terms and abbreviations used by crafters. Familiarity with symbols helps you follow and adapt various designs.
Basic stitches to learn include:
- Single crochet (sc)
- Double crochet (dc)
- Slip stitch (sl st)
- Chain stitch (ch)
By mastering these stitches, you’re equipped to tackle more complex crochet patterns confidently. Practice is key to precision and success in your crafting journey.
Step-by-Step Guide: Crochet Horse Pattern for Beginners
Embarking on your first crochet horse project is an exciting venture. Even beginners can craft delightful creations with the right guidance. Ensure you have all your materials before starting the pattern.
Begin by setting up a comfortable workspace with good lighting. Gather your yarn, hooks, stuffing, and any other necessary tools. Prepare to follow a simple pattern to create a charming horse.
Start with creating a magic ring using your yarn and hook. This forms the foundation for most crochet animal projects. Follow through with a series of single crochets to begin shaping the horse.
For beginners, it’s essential to count your stitches. This helps in maintaining uniformity and ensures your project turns out as planned. Pay attention to increases and decreases to shape the horse’s body correctly.
As you progress, keep measuring your work to ensure consistency. Adjustments can easily be made early on, preventing larger issues later. Creating detailed sections requires focus and precision.
Reference an easy-to-understand crochet pattern that details stitch counts and changes. Patience is key as you learn how to assemble your crochet pieces. Soon, you’ll see your horse taking shape.
These are basic tasks you’ll perform:
- Crochet the head and nose
- Create the ears, body, and limbs
- Add the mane, tail, and facial features
Practice makes perfect, so don’t rush. Enjoy the process and admire your progress. Share your creation with fellow crafters online for encouragement and tips.
Gather feedback from others to enhance your skills. Join crochet communities for new ideas and support. Each crochet project you complete boosts your confidence and expertise.
Embrace your new ability to create wonderful, handmade items. Continue practicing, and soon, crafting crochet horses will become second nature.

Head and Nose
Start by creating a foundation with a magic ring. This circular base is crucial for shaping the head. Follow with tight, uniform single crochets.
With a steady increase in stitches, you’ll shape a rounded form. Maintain consistent tension for a smooth surface. Use markers to track your stitch rounds as you crochet.
As you advance upwards, taper the design to form a gentle slope. This technique shapes the horse’s snout effectively. Pausing often to check symmetry ensures a balanced appearance.
Emphasize the nose by slightly enlarging its size. Subtle details make your crochet horse more lifelike. Ensuring both sides are even can be tricky but is essential.
After forming the basic head shape, add stuffing for structure. It should be firm yet pliable to hold the crochet in place. Secure the end tightly to prevent unraveling.
Ears
Crocheting the ears involves working in a smaller round. Begin with a magic ring and crochet a few rounds. This creates a tiny base for the ears.
Shape them by gradually increasing and then decreasing stitches. This method provides a natural point. Keep the stitches tight for definition.
Attach the ears symmetrically to the head. Even placement enhances the horse’s look. Use stitches to secure them strongly.
Body
The body starts with a similar magic ring foundation. Use the same stitch technique for consistency. Follow the pattern closely for size accuracy.
Increase your stitches steadily to expand the body. Ensure uniform expansion for a rounded, balanced form. Check your work frequently to maintain symmetry.
As you approach the middle section, maintain a steady stitch count. This forms the bulk and shape of the body. The body’s size should complement the head.
Begin tapering off stitches near the end. This gives the body its distinct horse shape. Carefully close the ends using secure stitches.
Stuff the body to align with the head’s firmness. A balance ensures your horse stands well. Connect the head and body securely to complete this section.
Legs and Arms
Commence each leg with a magic ring. This keeps the appendages consistent in shape and size. Single crochets should be your primary stitch.
Increase stitches to reach the desired limb thickness. Uniformity across legs and arms is important. Crochet identical pairs for symmetry.
Follow the pattern’s specifications for length. Measurements ensure the limbs are proportionate. Use stitch markers as guides to stay aligned.
Stuff each limb lightly but firmly. Proper stuffing helps the legs support your horse. Attach carefully to ensure stability and a natural look.
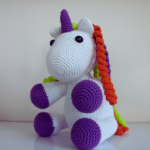
Mane and Tail
Select yarn colors for the mane and tail. This adds personality to your horse. Mix and match shades for a unique appearance.
Cut desired lengths and tie them onto the head. Secure them tightly to prevent loosening. Arranging them neatly enhances the horse’s aesthetic.
Create a tail by tying strands into a bundle. Attach firmly to the rear to complete the look. Groom them into a pleasing style using a comb.
Adding Details: Eyes, Features, and Accessories
Adding details to your crochet horse brings it to life. Start with the eyes, using safety eyes for a professional finish. Position them symmetrically for a balanced appearance.
Facial features can be embroidered with yarn. Use a contrasting color for the mouth and nostrils. This will define the character of your crochet horse.
Consider adding accessories like a tiny saddle or bridle. These elements enhance visual interest and personalization. Explore different possibilities to match your creative vision.
- Attach safety eyes securely
- Embroider simple features
- Add optional accessories like a saddle
Customizing Your Crochet Horse Pattern
Personalizing your crochet horse pattern is an exciting process. Use different yarn textures to achieve varied looks. Experimentation with color is key to making a unique creation.
Alter the pattern for distinctive breeds. Add distinctive features like spots or stripes to mimic real horses. This level of detail can make your crochet horse extraordinary.
You can adjust sizes by selecting different hook sizes. Smaller hooks lead to more compact designs, while larger hooks offer a plush appearance. Adapt these elements to fulfill your creative vision.
- Use varied yarn types
- Incorporate unique markings
- Adjust hook size for different dimensions
Troubleshooting and Tips for Success
Mistakes happen, but they’re part of learning. If your stitches aren’t even, consider your tension. Consistent tension ensures a smoother finish.
Missed stitches can throw your pattern off. Count stitches regularly to stay on track. Correct as soon as possible to avoid further issues.
For a successful project, patience and practice are key. Each project improves your skills and confidence in crafting.
- Monitor your tension for consistency.
- Count stitches to prevent mistakes.
- Practice patience and enjoy the journey.
Free Crochet Horse Patterns and Online Resources
Finding free crochet horse patterns is easier than you think. Many crafters share their designs online. These resources are perfect for both beginners and advanced crocheters. Exploring different patterns broadens your skills.
Online platforms such as Ravelry offer a plethora of options. Browsing these sites can provide inspiration for your next project. Whether looking for something simple or detailed, free patterns abound.
- Ravelry: A hub for crochet enthusiasts.
- Pinterest: Discover patterns and inspiration.
- YouTube: Tutorials for visual learners.
- Blogs: Crafters share unique designs.
Caring for and Displaying Your Crochet Horse
Proper care ensures your crochet horse remains pristine. Display it to highlight your handiwork. Wash gently using mild detergent when needed. This preserves the yarn’s texture.
Displaying options enhance visual appeal. Choose locations where your crochet piece can shine. Avoid direct sunlight to prevent fading.
- Gently wash and air dry
- Use mild detergent for cleaning
- Avoid direct sunlight exposure
Crochet Horses as Gifts and Keepsakes
Crochet horses make heartfelt gifts. Their handmade nature brings joy to both givers and receivers. You can customize them for any occasion, from birthdays to anniversaries.
As keepsakes, they hold sentimental value. They commemorate special moments and become cherished memories. Their uniqueness and personal touch are unmatched.
- Personalize for various events
- Memorable, sentimental gifts
- Perfect for all ages
Join the Community: Share, Learn, and Grow
Joining the crochet community opens doors to learning and inspiration. Share your crochet horse pattern with fellow enthusiasts online. You’ll gain valuable feedback and new ideas.
Connect with others who share your passion and expand your skills. Participate in forums, attend workshops, or join crochet-alongs to grow creatively.
- Share patterns and projects
- Receive feedback and encouragement
- Engage in forums and workshops
Conclusion: Celebrate Your Crafting Journey
Creating a crochet horse pattern is a rewarding adventure filled with creativity. Whether it becomes a treasured gift or a charming decor, each stitch tells your unique story.
Embrace the skills you’ve gained and the joy of crafting by hand. Celebrate every completed horse as a testament to your dedication and artistic growth.


Easy Free Crochet Chicken Pattern Tutorial
Create your own charming crochet companion with this easy, free crochet chicken...
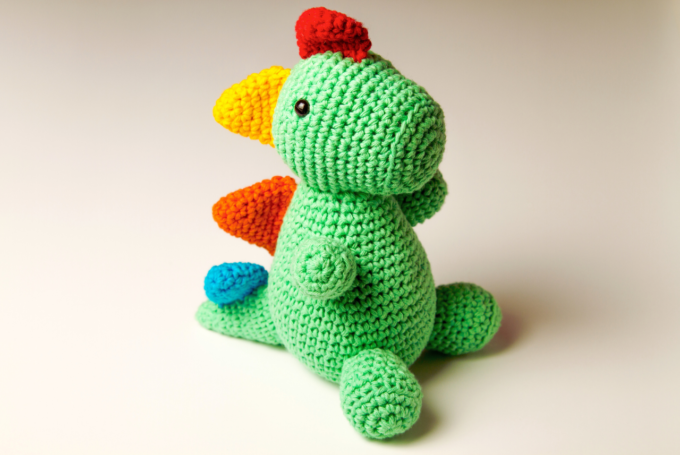
Create Your Own Dinosaur Crochet Pattern
Craft your own dinosaur crochet pattern with ease! Discover tips and free...
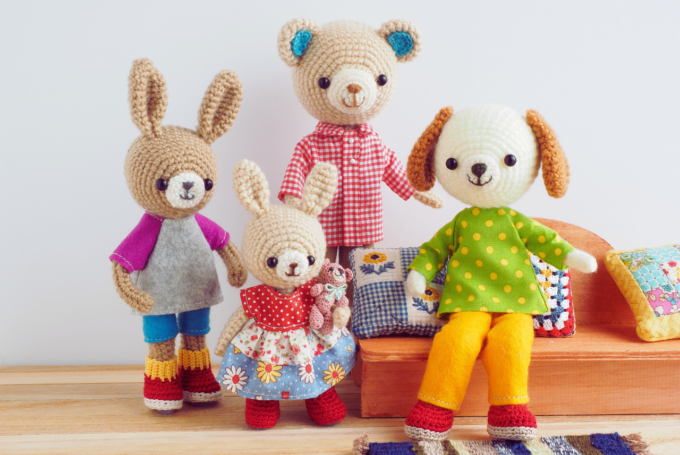
Creative Crochet Patterns for Soft Toys
Discover enchanting soft toy crochet patterns perfect for all skill levels. From...
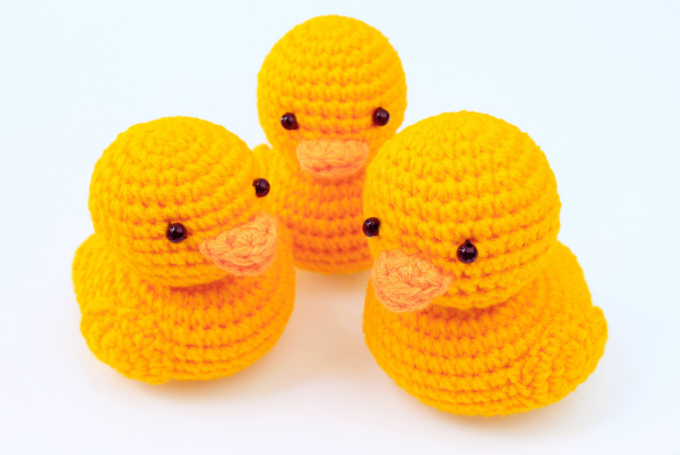
Charming Duck Crochet Patterns for Beginners
Discover charming duck crochet patterns perfect for beginners! Learn to craft cute...

Leave a comment