
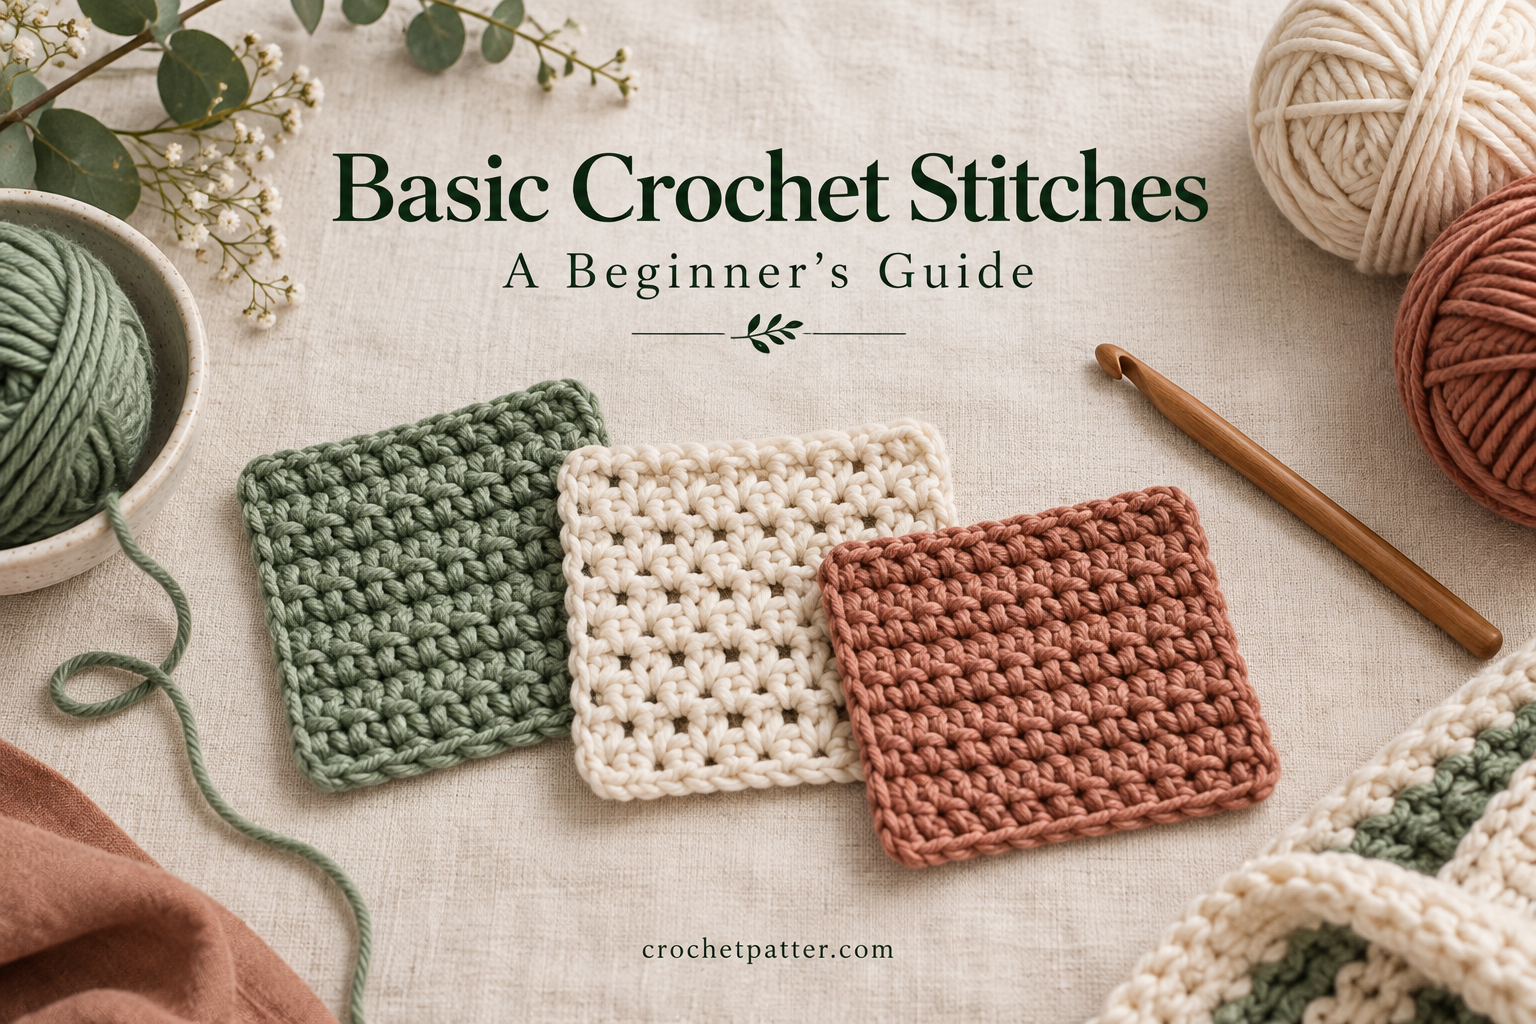
You only need a few stitches to start crocheting. Chain, slip stitch, single crochet, half double crochet, double crochet, and treble crochet form the foundation of many beginner projects.
If you are looking for a basic crochet stitches PDF to keep beside your yarn, use the reference tables below. You can print this guide or save it as a PDF using your browser, then practice each stitch with the written instructions.
This guide uses US crochet terminology. Check the US-to-UK conversion table before following a pattern written in UK terms.
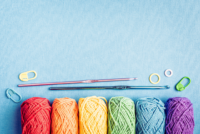
What You Need to Start
- Smooth, light-colored yarn: makes individual stitches easier to see.
- A crochet hook: choose a size recommended on the yarn label.
- Scissors: for cutting yarn when you finish.
- A yarn needle: for weaving in loose ends.
- Two stitch markers: to mark the first and last stitches of a row.
For your first practice session, avoid fuzzy or heavily textured yarn. Focus on seeing the stitches clearly and holding your hook comfortably.
Printable Basic Crochet Stitch Reference
These instructions describe working into an existing stitch unless otherwise noted. Yarn over means wrapping the working yarn over your hook.
| Stitch | Abbreviation | Basic movement |
|---|---|---|
| Chain | ch | Yarn over and pull through the loop on your hook. |
| Slip stitch | sl st | Insert hook, yarn over, and pull through the stitch and the loop on your hook. |
| Single crochet | sc | Insert hook, yarn over and pull up a loop; yarn over and pull through both loops. |
| Half double crochet | hdc | Yarn over, insert hook, yarn over and pull up a loop; yarn over and pull through all three loops. |
| Double crochet | dc | Yarn over, insert hook, yarn over and pull up a loop; yarn over and pull through two loops, twice. |
| Treble crochet | tr | Yarn over twice, insert hook, yarn over and pull up a loop; yarn over and pull through two loops, three times. |
Remember: the loop sitting on your hook does not count as a completed stitch.
US vs. UK Crochet Terms
Some stitch names mean different things in US and UK patterns. A US double crochet, for example, is a UK treble crochet. Check your pattern’s terminology before starting.
| US term | UK equivalent |
|---|---|
| Chain | Chain |
| Slip stitch | Slip stitch |
| Single crochet | Double crochet |
| Half double crochet | Half treble crochet |
| Double crochet | Treble crochet |
| Treble crochet | Double treble crochet |
For additional abbreviation guidance, see the Craft Yarn Council’s pattern-reading reference.
Before Your First Stitch: Make a Slip Knot
A slip knot creates the adjustable starting loop on your hook.
- Leave a yarn tail long enough to weave in later.
- Make a loop with the yarn.
- Pull a small loop of the working yarn through it.
- Place this new loop on your hook.
- Gently tighten the knot until the loop can still slide along the hook.
The slip knot does not count as a chain stitch.
1. Chain Stitch — ch
A chain often forms the starting edge of a crochet project.
- Begin with a slip knot on your hook.
- Yarn over.
- Pull the yarn through the loop on your hook.
- Repeat to make the required number of chains.
Look for the small V shapes along the chain. Each V represents one chain stitch. Keep your grip relaxed so the hook can move through the loops without force.
2. Slip Stitch — sl st
Slip stitches are useful for joining rounds, moving across stitches, and finishing edges.
- Insert your hook into the indicated stitch.
- Yarn over.
- Pull the yarn through the stitch and through the loop already on your hook.
One loop remains. Keep slip stitches relaxed, especially if you will need to work into them again.
Read our slip stitch crochet guide for more detail.
3. Single Crochet — sc
Single crochet makes a relatively dense fabric. It is a useful starting stitch for learning rows and counting stitches.
- Insert your hook into the next stitch.
- Yarn over and pull up a loop. You now have two loops.
- Yarn over again.
- Pull through both loops.
Unless your pattern says otherwise, insert the hook under both strands of the V at the top of an existing stitch.
For the first row worked into a foundation chain, follow the pattern’s starting instructions. The practice swatch below begins in the second chain from the hook.
4. Half Double Crochet — hdc
Half double crochet is taller than single crochet and shorter than double crochet.
- Yarn over.
- Insert your hook into the next stitch.
- Yarn over and pull up a loop. You now have three loops.
- Yarn over and pull through all three loops.
Check that the final pull-through passes through all three loops. One loop should remain on your hook.
5. Double Crochet — dc
Double crochet creates a taller stitch often used in blankets, scarves, and granny squares.
- Yarn over.
- Insert your hook into the next stitch.
- Yarn over and pull up a loop. You now have three loops.
- Yarn over and pull through two loops. Two loops remain.
- Yarn over and pull through the final two loops.
A helpful reminder is: pull through two, then pull through two again.
Compare these stitches in our single vs. double crochet guide.
6. Treble Crochet — tr
Treble crochet starts with two yarn overs and creates a taller stitch than double crochet.
- Yarn over twice.
- Insert your hook into the next stitch.
- Yarn over and pull up a loop. You now have four loops.
- Yarn over and pull through two loops.
- Yarn over and pull through two loops again.
- Yarn over and pull through the final two loops.
Keep the starting yarn overs loose enough to move along the hook.
How Turning Chains Work
When crocheting in rows, you usually turn your work and make chains to reach the height of the next row.
Whether those chains count as a stitch depends on the pattern. Read its notes before deciding where to place the first stitch and whether to work into the turning chain at the end of the next row.
In the practice below, chain one before each new row. That chain does not count as a stitch.
Your First Practice Swatch: 10 Single Crochet Stitches
This small exercise helps you practice working straight rows. It is a learning swatch, so an exact finished size is not required.
Terminology: US terms.
Stitch count: 10 single crochet stitches per row.
Turning chain: does not count as a stitch.
Foundation
Chain 11.
Row 1
Single crochet in the second chain from your hook. Single crochet in each remaining chain. Count: 10 stitches.
Rows 2–10
Chain one and turn. Single crochet in the first stitch and each remaining stitch across. Count: 10 stitches in every row.
Finish
Cut the yarn, leaving a tail of about 6 inches. Yarn over with the tail and pull it completely through the final loop. Gently tighten. Use a yarn needle to weave in the finishing tail and the starting tail.
Mark the first and last stitches if you have trouble finding the edges. Count after every row to catch mistakes early.
Check whether the sides are reasonably straight and the stitches are similar in size. Your swatch does not need to look perfect to be useful practice.
Common Beginner Problems
My rows keep getting narrower
You may be missing the first or last stitch of each row. Count your stitches and use markers to identify the edges.
My rows keep getting wider
Check whether you are working two stitches into one stitch or accidentally treating a turning chain as an extra stitch.
My starting chain is difficult to work into
Your chains may be too tight. Relax your grip. A slightly larger hook for the foundation chain can also help; switch back to the intended hook for the following rows.
My stitches are uneven
Practice maintaining a comfortable, steady yarn tension. Avoid pulling each completed stitch tightly against the hook.
I do not understand “sk”
“Sk” means skip: leave the indicated stitch or space unworked and continue where the pattern directs. See our SK crochet meaning guide for examples.
How to Save This Guide as a PDF
You can make a personal printable copy using your browser:
- Open the browser’s Print menu.
- Select Save as PDF, or choose your printer.
- Check the preview and select the pages you need.
- Save or print the guide.
For a shorter reference, copy the stitch table and US-to-UK conversion table into a document, add your notes, and save that document as a PDF.
Keep the reference beside your work and practice one stitch at a time.
Frequently Asked Questions
Which crochet stitch should I learn first?
Start with a slip knot and chain stitch, then practice single crochet. Once you can keep a consistent stitch count, move on to half double and double crochet.
Do I need to learn every stitch before making a project?
No. Choose a simple pattern and learn the stitches it uses. A single crochet practice square is enough to begin learning rows, turning, and finishing.
Is a stitch guide the same as a crochet pattern?
No. A stitch guide explains techniques. A project pattern also tells you how many stitches to make, where to place them, and how to shape and finish the item.
Can I learn from written instructions alone?
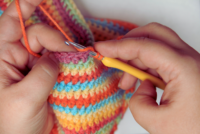
Written instructions can help, but close-up photographs or a video demonstration may make an unfamiliar movement easier to understand. Use the format that helps you see where the hook and yarn should go.
Where can I check crochet chart symbols?
The Craft Yarn Council’s crochet chart provides a reference for common symbols. Always check the key supplied with your pattern too.
Start with a chain and the 10-stitch practice swatch. Once you can maintain the same stitch count across several rows, you have a foundation for your next beginner project.




1 Comment