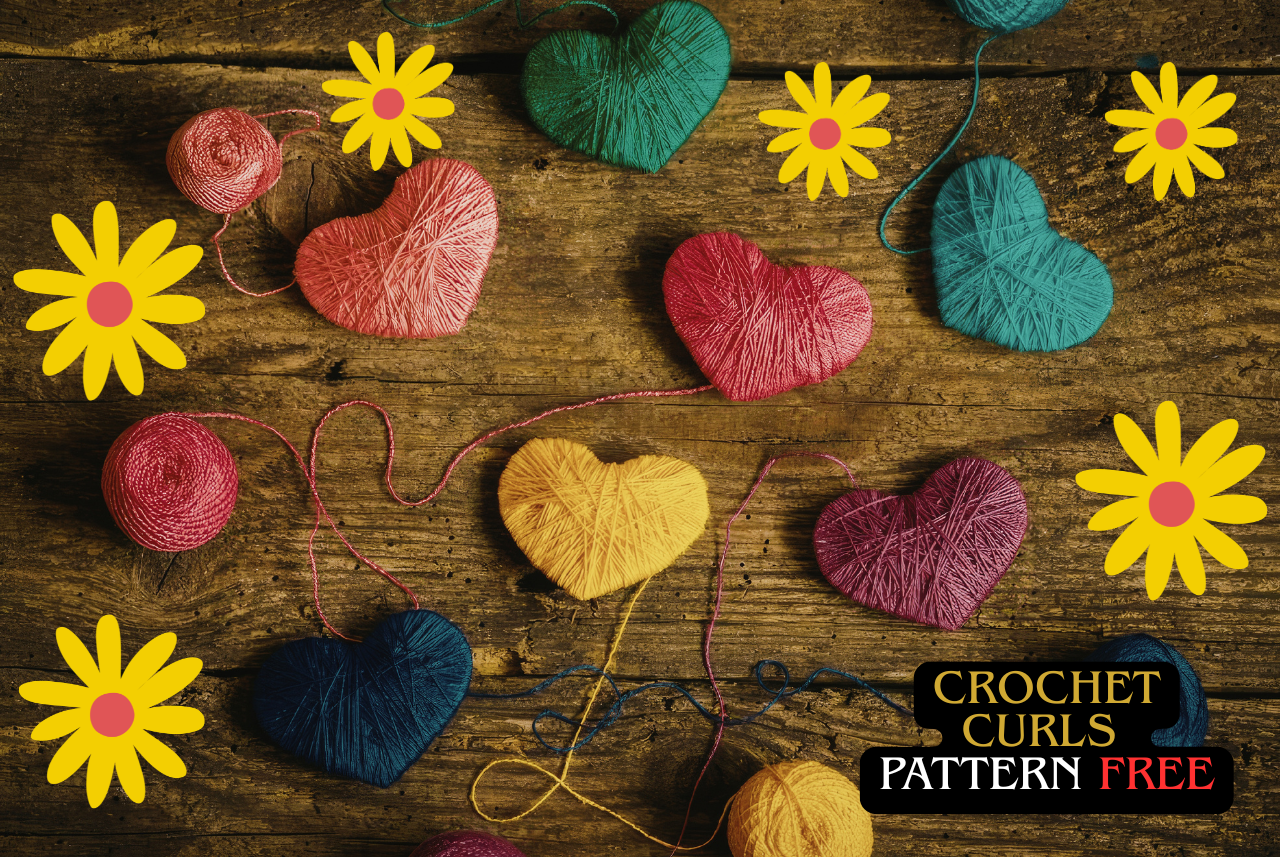
Crochet Curls Pattern Free: Master How to Crochet a Curly Q, Crochet Curly Cue & Corkscrew Crochet Spirals
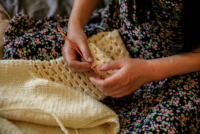
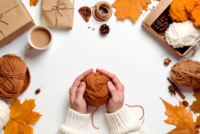
Do you love adding playful texture to your crochet projects? Curly cues, ringlets, and spirals bring whimsy and movement to everything from amigurumi hair to blanket edges. The best part? You can find a crochet curls pattern free right here. Today I’ll show you how to crochet a curly q, how to crochet ringlets, and even how to crochet corkscrew spirals using simple stitches. Plus, we’ll cover a crochet curly cue pattern that works for any yarn weight. Let’s dive into the bouncy, curly world of corkscrew crochet!
Why You’ll Love This Crochet Curls Pattern Free
Curly cues aren’t just for decorations. They make amazing doll hair, keychains, baby toy tendrils, and scarf fringe. And because this is a crochet curls pattern free, you can practice without spending a dime. Once you learn how to crochet a curly q, you’ll see spirals popping up in all your future projects.
💡 Pro tip: The same technique works for how to crochet ringlets and long corkscrews. Just adjust the starting chain length!
Section 1: Common Crochet Abbreviations You’ll Need
Before we start our crochet curly cue pattern, let’s review a few abbreviations. Don’t worry – they’re simple. You’ll see “ch” for chain, “sc” for single crochet, and “sl st” for slip stitch. We’ll also talk about spaces, because chain spaces are the secret to perfect spirals.
Even though we’re focusing on how to crochet corkscrew spirals, knowing basic shorthand makes following any crochet curls pattern free much easier. Grab your hook and yarn, and let’s get comfortable with the lingo.
Section 2: What Does “sp” Mean in Crochet? (And Why It Matters for Curls)
If you’ve seen “sp” or “ch sp” in a pattern, you might have wondered: what does sp mean in crochet? Simply put, “sp” stands for space. A chain space is the gap created when you chain 1 or more stitches and then skip a stitch below. So what is sp in crochet? It’s the empty hole or gap between stitches where you’ll work your next stitch.
For curly cues, chain spaces give you room to make multiple stitches into a single gap. That’s what creates the twist! Understanding ch sp crochet meaning helps you see why we work 2 or 3 single crochets into each chain space later. Without spaces, your crochet curly cue would lie flat instead of curling.
Section 3: The Role of Chain Spaces in Corkscrew Crochet
Now let’s look at crochet ch 1 sp – that means a space made by one chain stitch. When you’re making a corkscrew crochet tendril, you’ll often chain a foundation, then work back into the chain spaces. But for our crochet curls pattern free, we’ll use a different method: long starting chain + multiple stitches per chain.
Every time you see ch sp crochet in a pattern, think “pocket”. You’ll insert your hook into that pocket (space) and crochet several stitches. That cluster of stitches forces the fabric to bend and spiral. That’s the magic behind how to crochet a curly q that springs to life!
Section 4: Using “sk st crochet” (Skip Stitch) to Shape Your Curls
Another handy technique is sk st crochet – “skip stitch”. Why skip? Sometimes you want to leave gaps that later become decorative loops. For our crochet curly cue pattern, skipping isn’t always required, but it can create longer, looser spirals. If you skip a stitch before starting your curls, the tendril will stand out more from the main fabric.
Let’s say you’re adding curly hair to an amigurumi doll. You might sk st crochet in the row below, then begin your chain for the ringlet. That skip makes the curl pop forward. For now, we’ll focus on a simple how to crochet ringlets method without skips – but remember, skipping is a great tool to have in your box.
Section 5: Ch 1 Crochet – The Tiny Stitch That Helps Curls Turn
Ch 1 crochet is exactly what it sounds like: making a single chain. In many patterns, you chain 1 to turn or to create a small space. For our crochet curls pattern free, we won’t use many ch‑1 spaces inside the curl itself, but we will use a long chain to start. However, understanding ch 1 crochet helps when you need to adjust curl tightness.
If you want looser ringlets, you can add a ch‑1 between each stitch. For tighter how to crochet corkscrew spirals, work stitches directly next to each other without chain spaces. Experiment! This pattern is flexible – that’s the beauty of a crochet curls pattern free.
Section 6: Step‑by‑Step Tutorial – Crochet Curls Pattern Free
Time to make actual curls! Follow this easy tutorial for how to crochet a curly q that works for any yarn. We’ll also cover how to crochet ringlets (same method, different chain length). Let’s go.
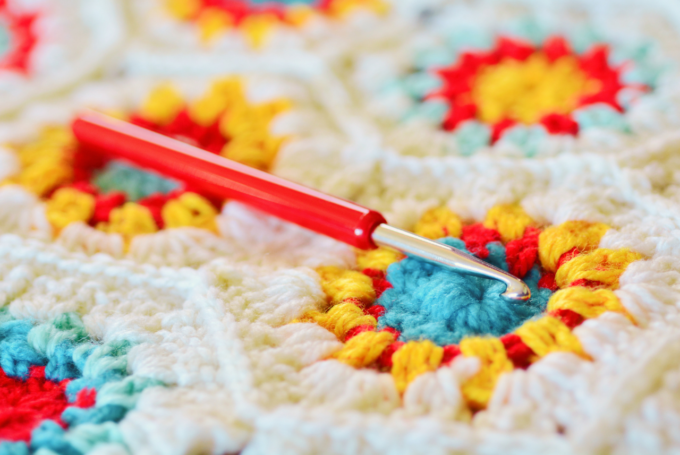
What You’ll Need:
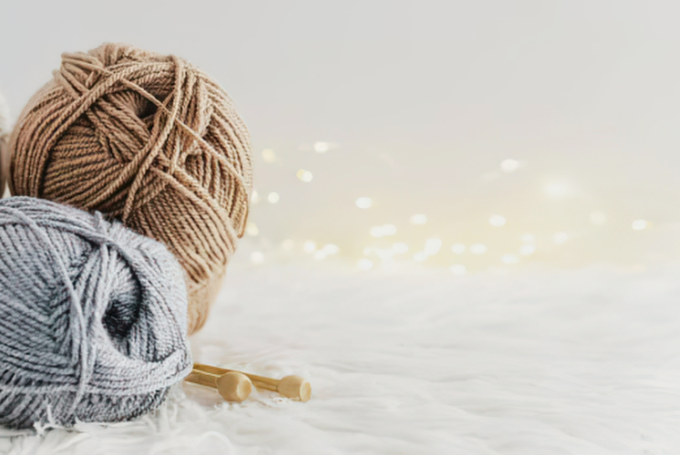
- Worsted weight yarn (cotton or acrylic)
- Crochet hook (size G/4.0mm or as recommended for your yarn)
- Scissors
- Tapestry needle
Step 1: Make a Foundation Chain
Chain 25 stitches for a medium curl. For a tight crochet curly cue, chain 15. For long flowing ringlets, chain 40 or more. The longer the chain, the longer the spiral. This is the base for your crochet curly cue pattern.
Step 2: Work 2 Single Crochets in Each Chain
Starting from the second chain from your hook, make 2 single crochet (sc) into that chain. Then 2 sc into the next chain, and so on all the way across. Do not turn your work. By putting 2 stitches where only 1 normally fits, the fabric starts to twist. This is the secret to how to crochet corkscrew spirals.
Step 3: (Optional) Add More Stitches for Tighter Curls
If you want even tighter ringlets, work 3 single crochets into each chain instead of 2. For super loose waves, work 1 sc into each chain. For our corkscrew crochet effect, 2 sc per chain gives the perfect balance.
Step 4: Let the Curl Form Naturally
As you finish the row, the piece will automatically coil into a spiral. Gently tug the starting tail – it will tighten the curl. You’ve just made a how to crochet a curly q tendril! To make multiple curls, repeat the same steps with a new chain.
🧶 Pro tip: For a crochet curls pattern free that lies flat when you want it to, block your curls by pinning them to a foam mat and steaming lightly. Otherwise, let them bounce!
Step 5: Attach Curls to Your Project
Use a slip stitch or sewing needle to attach the flat edge of your curl to a hat, doll, or blanket. To hide the tail, weave it through the center of the spiral. That’s all there is to how to crochet ringlets – you’re now a spiral master!
Section 7: Common Patterns & Projects Using Crochet Curls
Once you have a crochet curls pattern free memorized, you’ll see endless ways to use it. Here are 4 popular projects that love curly cues.
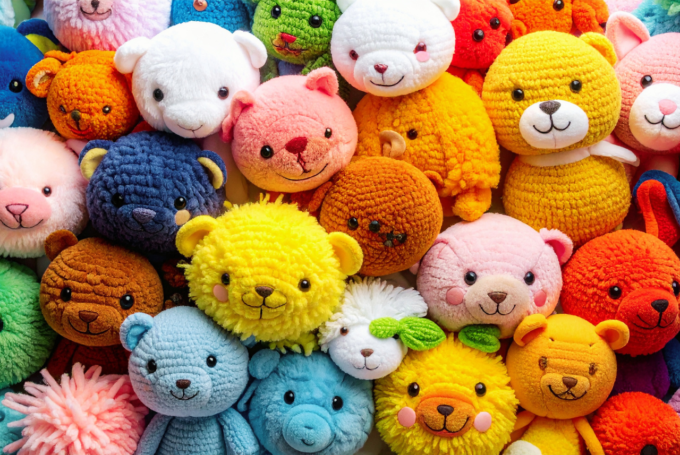
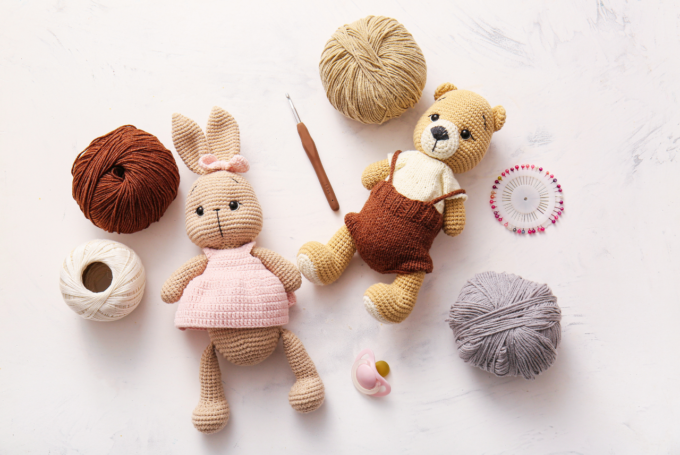
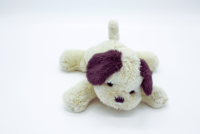
1. Amigurumi Doll Hair
Instead of yarn wefts, make 10‑20 curly tendrils using how to crochet a curly q. Sew them onto the doll’s head for fun, messy ringlets. Use different chain lengths for a layered look.
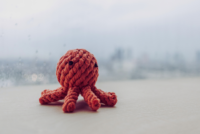
2. Baby Lovey Toy Tentacles
An octopus or jellyfish lovey becomes irresistible with corkscrew crochet legs. Follow the crochet curly cue pattern above, but chain 30‑35 for each leg. Make 8 legs and attach to a round head.
3. Scarf or Blanket Fringe
Replace plain fringe with spirals. Use your crochet curls pattern free to create 4‑inch ringlets along the edge of a child’s scarf. It adds whimsy and texture that won’t tangle like normal fringe.
4. Keychains and Bag Charms
Make a tiny crochet curly cue using embroidery thread and a steel hook. Attach a key ring. These sell well at craft fairs and use very little yarn. Search “crochet curly cue pattern small” – but you already have the method!
Section 8: Tips for Perfect Crochet Curls Every Time
Even with a free pattern, small mistakes can make curls look limp. Follow these tips for bouncy, beautiful how to crochet ringlets that hold their shape.
- Use a smaller hook than recommended – If your yarn calls for a 5mm hook, try 4mm. Tighter stitches create more defined corkscrew crochet spirals.
- Don’t stretch the chain – Keep your foundation chain loose but even. A tight chain makes the curl stiff.
- Add stitches for drama – Work 3 sc per chain for a very tight crochet curly cue. Work 2 sc per chain for standard how to crochet a curly q.
- Steam block if needed – If your curl unravels a bit, pin it in a spiral and steam with an iron (don’t touch the yarn!). Let dry completely.
- Mix yarn types – Cotton holds spirals best; acrylic is bouncier. For a crochet curls pattern free that stays put, choose 100% cotton.
Section 9: Frequently Asked Questions
Q1: How do I make a how to crochet a curly q that doesn’t unwind?
A: After finishing the row, fasten off and leave a long tail. Thread the tail through the center of the curl and pull gently. Then sew through the base a few times. This locks the spiral in place.
Q2: Can I use this crochet curly cue pattern for super bulky yarn?
A: Absolutely! For bulky yarn, chain only 12‑15 stitches and work 2 sc in each chain. The curl will be thick and plush – perfect for a pillow or pet toy.
Q3: What’s the difference between how to crochet ringlets and how to crochet corkscrew spirals?
A: They are often used interchangeably. However, “ringlets” usually refer to shorter, tighter curls (like doll hair), while “corkscrew spirals” are longer, looser tendrils. The technique is identical – only the starting chain length changes.
Q4: Where can I find another crochet curls pattern free for left‑handed crafters?
A: This pattern works for lefties too! Just reverse the direction – chain from left to right, then work back. Or search YouTube for “left‑handed corkscrew crochet”. But our written steps are mirror‑friendly.
Q5: Why does my crochet curly cue look like a flat wave instead of a spiral?
A: You likely didn’t work enough stitches into each chain. Try 3 single crochets per chain instead of 2. Also, check your tension – loose stitches won’t curl. Tighten up and use a smaller hook for better corkscrew crochet results.
Conclusion: Start Your Crochet Curls Pattern Free Today
You now have everything you need to make playful spirals anytime. This crochet curls pattern free teaches how to crochet a curly q, how to crochet ringlets, and how to crochet corkscrew spirals using just chains and single crochets. Plus you learned about crochet curly cue pattern variations and corkscrew crochet tips. So grab your hook, pick a bright yarn, and start twisting. Share your curly creations on social media and tag me – I’d love to see your bouncy masterpieces. Happy crocheting! 🧶
Looking for more free patterns? Subscribe to our newsletter for weekly stitch tutorials and design inspiration.

Leave a comment