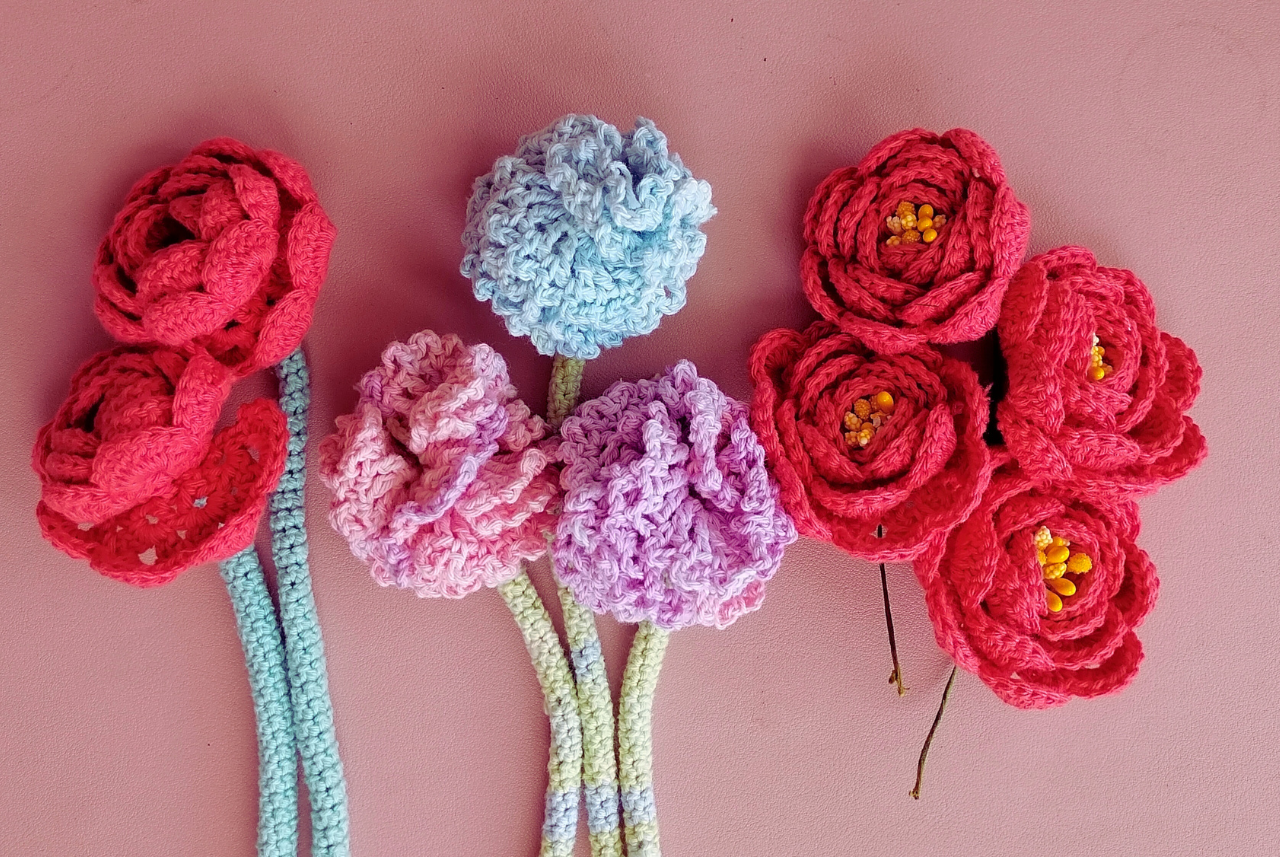
How to make crochet flowers Bouquet
Create a stunning crochet flower bouquet with our step-by-step guide. Perfect for gifts or home decor, these everlasting blooms are easy and budget-friendly.
Hey there, fellow crochet enthusiast! Are you ready to dive into the delightful world of crochet flowers
and create a stunning bouquet that won’t wilt? Perfect for any occasion, these crochet flowers are not only fun to make but also a beautiful, everlasting gift. Whether you are an experienced crocheter or just starting out, crafting these vibrant flowers can be both a relaxing and rewarding experience. So, grab your crochet hook, gather your favorite yarns, and let’s get crafting!
Before we jump into the patterns and techniques, let’s chat about why you’d want to make a crochet flower bouquet. For starters, they’re a fantastic way to add a pop of color to your home without the maintenance of real flowers. Imagine a bouquet that stays fresh and vibrant all year long, never needing water or sunlight. Plus, they make thoughtful, handmade gifts that are sure to impress, carrying the personal touch that store-bought flowers simply can’t match.
PART 1 :
- Long-lasting: Unlike real flowers, crochet blooms will last a lifetime, serving as a constant reminder of a special occasion or the person who made them.
- Customizable: Choose your favorite colors and yarn to match any decor or personal style, allowing you to create something uniquely yours or perfectly suited to the recipient’s tastes.
- Budget-friendly: You can use leftover yarn from other projects to create these beauties, making it a sustainable craft option that minimizes waste.
- No allergies: Perfect for those who love flowers but suffer from allergies, crochet flowers provide a hypoallergenic alternative that everyone can enjoy without sneezing or itching.
PART 2 :
Before you start crocheting, make sure you have the necessary tools and materials. Preparing your supplies in advance will make the crafting process smoother and more enjoyable. Here’s a quick checklist to guide you through the essentials:
- Yarn: Choose colors that you love. Worsted weight yarn works well for most flower patterns, but feel free to experiment with different textures and weights to achieve various effects.
- Crochet Hook: A size appropriate for your yarn (usually indicated on the yarn label). Using the right hook size is crucial for achieving the desired tension and size of your flowers.
- Scissors: For cutting your yarn, ensuring clean and precise ends.
- Tapestry Needle: To weave in the ends, helping to finish your project neatly and securely.
- Floral Wire: Optional, but helpful if you want to give your flowers a bit of structure and allow them to stand upright.
- Floral Tape: To wrap around the stems if you’re using wire, providing a polished and natural look.
Consider the look and feel you want for your flowers. Cotton yarn gives a clean, crisp finish, making it ideal for creating defined petals and leaves. In contrast, acrylic yarn is soft and budget-friendly, offering a wide range of colors and ease of care. You can even use a blend for the best of both worlds, combining durability with softness. Experiment with different yarns to find the perfect match for your project, and don’t be afraid to mix colors for a vibrant and eye-catching bouquet.
Now, let’s get to the fun part — making the flowers! Here are a few simple crochet flower patterns to get you started. These patterns vary in complexity, so you can choose one that matches your skill level or challenge yourself with a more intricate design.
PART 3 :
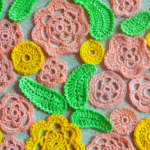
This basic pattern is perfect for beginners. It’s quick, easy, and oh-so-cute! With just a few steps, you can create charming little flowers to fill your bouquet.
- Start with a Magic Ring: Create a loop with your yarn and secure it with a slip knot. This technique allows you to adjust the size of the center hole, making it versatile for different flower styles.
- Chain 4: This will form the base of your petals, providing structure for the rest of the flower.
- Work 2 Double Crochets (DC) into the Ring: This creates the first petal, giving it volume and shape.
- Chain 2: Secure the petal with a slip stitch into the ring, anchoring it in place.
- Repeat 4 More Times: You’ll have five petals in total, forming a complete flower.
- Close the Ring: Pull the tail to tighten the center and weave in the ends, finishing the flower neatly.
For a more detailed flower, try this rose pattern. It’s a bit more advanced but totally worth the effort! The finished product will resemble a real rose, perfect for adding sophistication to your bouquet.
PART 4 :
- Chain 26: This forms the base of your rose, setting the stage for the intricate petal design.
- Row 1: Single crochet in the second chain from the hook, then chain 3. Skip two chains and single crochet in the next. Repeat across, creating loops that will form the petals.
- Row 2: Turn your work. In each loop created by the chain 3, work the following: single crochet, half double crochet, 3 double crochets, half double crochet, and single crochet. This sequence builds the layered petals, giving the rose its signature look.
- Assemble the Rose: Roll the strip into a spiral and sew the base to secure, shaping the flower as you go to ensure a natural appearance.
Once you’ve created a variety of flowers, it’s time to assemble your bouquet! This is where you can really let your creativity shine, arranging the flowers in a way that pleases your eye and suits the intended space or occasion.
If you want your flowers to stand upright, you’ll need to add stems. Here’s how:
PART 5 :
- Insert Floral Wire: Push a piece of wire through the center of the flower. The wire provides stability and allows you to adjust the height and position of each bloom.
- Wrap with Floral Tape: Secure the wire with floral tape, starting at the base of the flower and wrapping down. This not only holds the wire in place but also gives the stem a more natural appearance.
- Shape the Stems: Bend the wire to your desired shape and length, allowing you to customize the bouquet’s overall look and feel.
Get creative with your arrangement! Mix and match different flower types and colors for a dynamic look. Consider the size, shape, and color palette of your flowers to create a visually balanced bouquet. You can even add crochet leaves or filler flowers for extra flair, enhancing the fullness and texture of your creation.
PART 6 :
Place your finished bouquet in a vase or wrap it with ribbon for a gift-ready presentation. Choose a vase that complements the colors and style of your flowers, adding to the overall aesthetic. These bouquets make lovely centerpieces or personal touches in any room, offering a splash of color and a reminder of your handiwork.
- Experiment with Yarn Types: Try different yarn textures for unique effects. The choice of yarn can dramatically alter the appearance of your flowers, so don’t be afraid to try something new.
- Mix Patterns: Combine various flower patterns for an eclectic bouquet. Mixing simple and complex designs can add depth and interest to your arrangement.
- Add Embellishments: Sew on beads or buttons for a touch of sparkle. These small details can elevate your flowers, making them stand out even more.
- Practice Makes Perfect: Don’t worry if your first few flowers aren’t perfect. Keep practicing, and you’ll improve with each one. Each project is an opportunity to learn and refine your skills.
Looking for more inspiration? Check out these free resources for crochet flower patterns:
- Ravelry: A treasure trove of free patterns shared by the crochet community. With countless designs available, you’re sure to find something that sparks your interest.
- Pinterest: Search for “free crochet flower patterns” to find endless ideas. This visual platform is perfect for browsing and saving patterns that catch your eye.
- YouTube: Watch video tutorials to see the techniques in action. These step-by-step guides can be invaluable for visual learners and those tackling more complex designs.
Creating a crochet flower bouquet is not only a rewarding project but also a wonderful way to express your creativity. With these tips and patterns, you’re well on your way to crafting a beautiful, handmade bouquet that will last forever. The process of making each flower is both meditative and satisfying, allowing you to pour love and attention into every detail. So, what are you waiting for? Grab your yarn and hook, and let’s get started on your crochet floral masterpiece!
Happy crocheting!


Easy Free Crochet Chicken Pattern Tutorial
Create your own charming crochet companion with this easy, free crochet chicken...
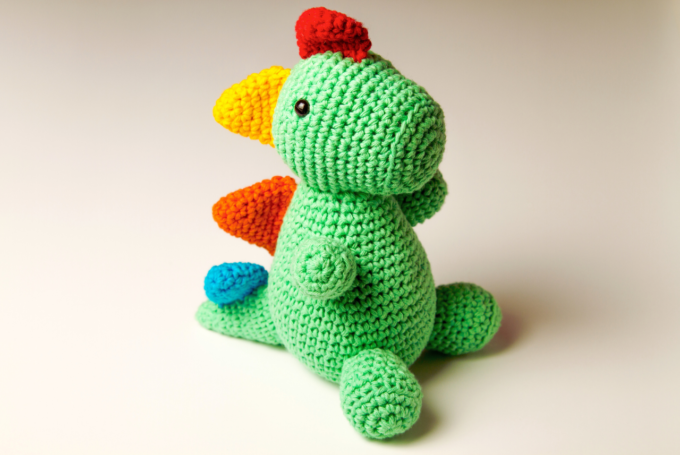
Create Your Own Dinosaur Crochet Pattern
Craft your own dinosaur crochet pattern with ease! Discover tips and free...
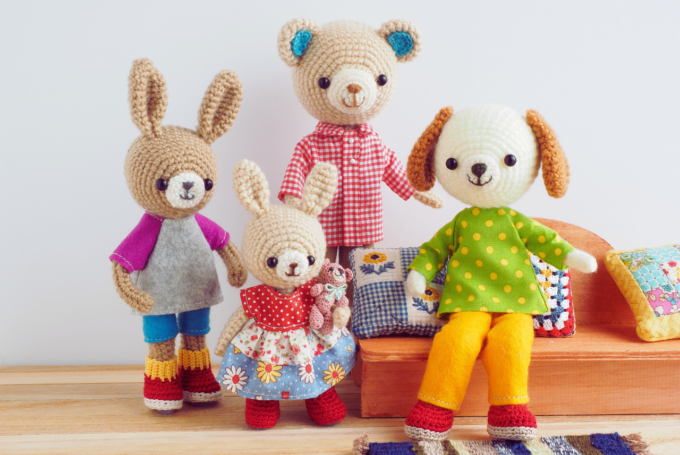
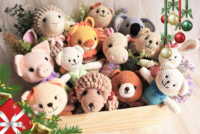
Creative Crochet Patterns for Soft Toys
Discover enchanting soft toy crochet patterns perfect for all skill levels. From...
Charming Duck Crochet Patterns for Beginners
Discover charming duck crochet patterns perfect for beginners! Learn to craft cute...


Leave a comment