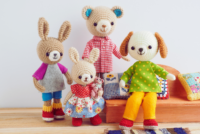
how to crochet bear patterns
Learn how to crochet bear patterns with our comprehensive guide! Perfect for gifts or collectibles, this tutorial explores techniques and materials to make charming crochet teddy bears.
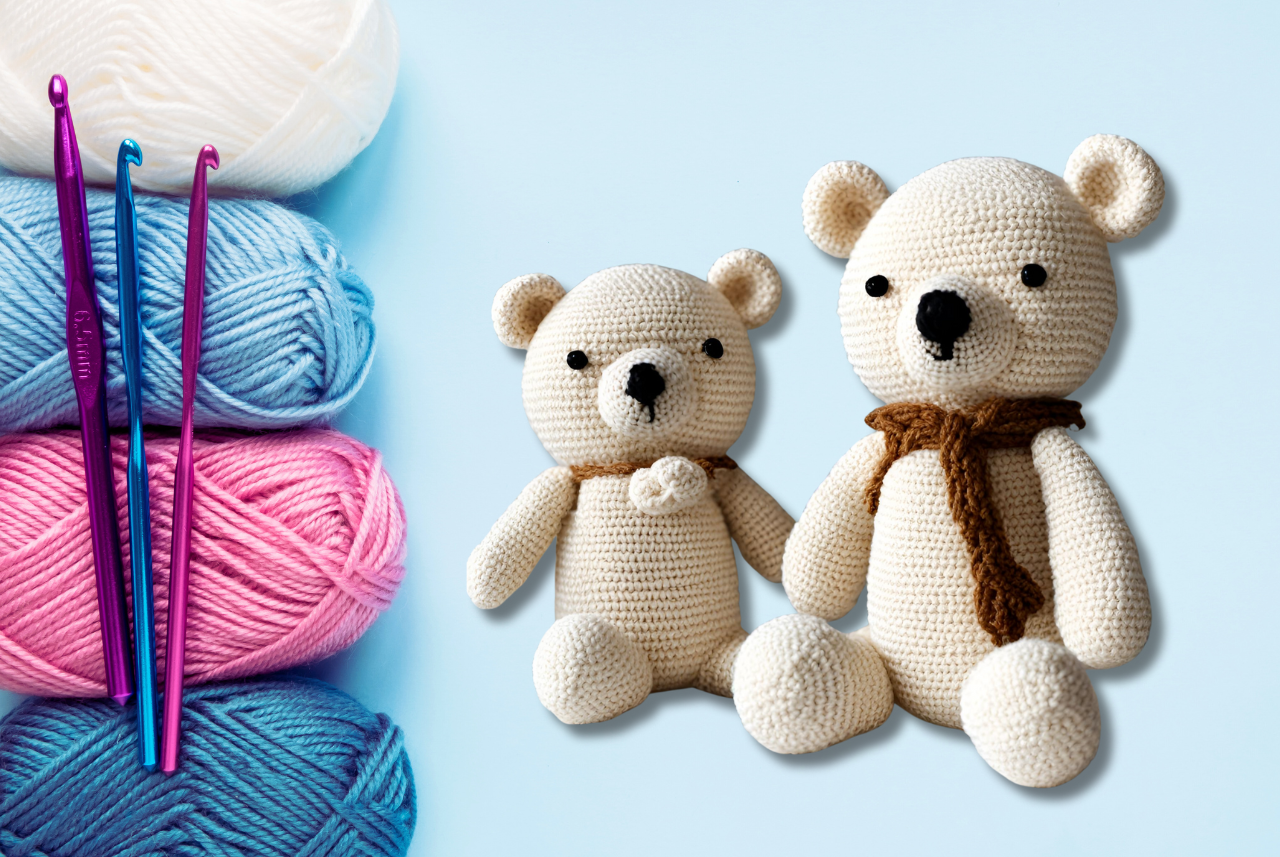
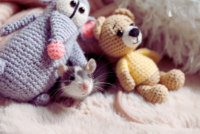
Crocheting bear patterns is a delightful craft. It combines creativity with the joy of making something special. Whether you’re a beginner or have some experience, crocheting a teddy bear can be a rewarding project.
These adorable creations make perfect gifts for loved ones. They can also become cherished collectibles. With the right materials and a bit of patience, you can create a unique crochet bear.
In this guide, we’ll explore how to crochet bear patterns step by step. You’ll learn about essential tools, techniques, and tips for success. Let’s embark on this creative journey together!

Why Crochet Bear Patterns Are So Popular
Crochet bear patterns are beloved by crafters worldwide. These charming creatures offer a nostalgic touch and endless customization options. Crocheted bears can be tailored to fit any theme or style, from classic to modern.
The popularity of crochet bears lies in their versatility. They can be both simple and intricate, making them suitable for various skill levels. Beginners appreciate the opportunity to practice basic stitches. Experienced crocheters enjoy experimenting with complex designs.
Here’s why they captivate many:
- Perfect for gifts and personal keepsakes
- Endless customization options
- A relaxing and rewarding hobby
Creating a crochet teddy bear brings a sense of accomplishment and joy. Who wouldn’t love to craft something so heartwarming and unique?

Essential Materials and Tools for Crochet Bears
To start crocheting bear patterns, you’ll need the right tools. The materials are simple, yet vital for a smooth crafting experience.
Begin with yarn. Choose a soft, durable yarn in a color you like. The yarn weight affects the bear’s size, so keep that in mind.
Crochet hooks are next. Select the appropriate size to match your yarn. This ensures consistent stitching.
Here’s a checklist of essentials:
- Yarn (soft and durable)
- Crochet hooks (matching yarn weight)
- Stuffing for fullness
- Safety eyes for a cute finish
- Tapestry needle for sewing
Safety eyes are a popular choice, adding charm to your bear. Stuffing brings your creation to life, giving it a plush, huggable form. Lastly, use a tapestry needle to assemble pieces securely.
Ensure you have these materials handy before you start your bear project.

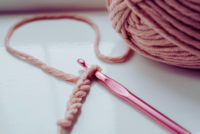
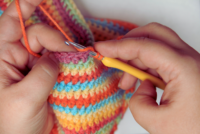
Basic Crochet Stitches and Techniques for Bears
Creating crochet bear patterns requires mastering a few essential stitches. These foundational techniques form the backbone of your project.
Start with the single crochet stitch. It is simple and tight, perfect for bears. This stitch gives your bear a smooth texture.
The double crochet stitch comes next. It adds height and volume to your work. Double crochet is useful for adding dimensions to various bear parts.
Explore these techniques:
- Single Crochet (SC)
- Double Crochet (DC)
- Slip Stitch (SS)
- Magic Ring for seamless starts
A slip stitch helps join your work smoothly. It is unobtrusive, making it ideal for finishing touches. The magic ring technique is perfect for crocheting in the round. It creates a tight circle, great for bear heads and limbs.

Step-by-Step Guide: How to Crochet a Teddy Bear Pattern
Creating a crochet teddy bear pattern is an exciting journey. It involves a series of simple yet detailed steps.
Begin with the head. Use a magic ring to start crocheting in the round. Increase the stitches gradually as the circle expands.
Crocheting the Head
The head sets the foundation for your bear’s character. Start with a magic ring and single crochet stitches to form a solid base.
Continue increasing evenly. This enlarges the head to the desired size. Adjust tension carefully to keep the shape intact.
Once the head is complete, leave a yarn tail for sewing. This will be useful during assembly.

Making the Ears, Arms, and Legs
Next, you craft the bear’s ears, arms, and legs. Small components often require patience and precision.
For each ear, crochet a small circle. Use single crochet stitches for a firm structure.
Arms and legs follow a similar process but are longer. Work in the round, keeping the gauge consistent.
Here’s a quick parts checklist:
- 2 Ears
- 2 Arms
- 2 Legs

Creating the Body
The body connects all individual parts. Begin with a small base using the magic ring technique.
Increase stitches for a rounder shape. Continue until it reaches your desired size.
Ensure the body is proportional to the head and limbs. Consistent tension ensures a neat and tidy finish.
Assembling and Finishing Your Crochet Bear
Now, it’s time to assemble your bear. Start by sewing the head onto the body. Align it carefully for balance.
Attach the arms and legs symmetrically. Position them evenly to avoid an awkward stance.
Finally, add the ears on top of the head. Make sure everything is secure. Consider these tips during the process:
- Use the yarn tail for attachments.
- Double-check symmetry.
- Avoid visible seams for a neat look.

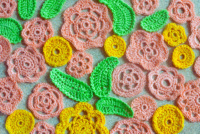
Customizing Your Crochet Bear Pattern
Customizing your crochet bear pattern can turn a standard bear into a unique creation. Adding personal touches, such as accessories, is a great start.
Think about color combinations. You could use vibrant hues or neutral tones. Each choice gives a different personality to your bear.
Accessories like scarves, hats, or bowties add charm. These small items enhance the overall design, making your bear special.
Customize with:
- Color schemes
- Personalized embroidery
- Accessories like scarves or hats
Experiment with different stitches to add texture. Using unique stitch patterns can make your bear stand out. Your creativity is the only limit!

Tips for Success and Troubleshooting Common Issues
Keep your tension steady while crocheting. Consistent tension ensures even stitches and a neat finish.
Troubles can arise, but don’t worry. Common issues include uneven limbs or a wobbly head.
Check your stitch count frequently. This helps catch mistakes early.
Quick Fixes:
- Use stitch markers to keep track
- Double-check your pattern before starting
- Adjust hook size if stitches are too tight or loose
Practicing these tips can improve your crochet skills. Stay patient and enjoy the crafting process. Your bear will take shape beautifully!
Where to Find More Crochet Bear Patterns and Tutorials
Finding the right crochet bear pattern is crucial for your success. Several online sources offer diverse options. Whether you’re a beginner or advanced crocheter, there’s something for you.
Explore the following resources:
- Websites: Pinterest, Ravelry, and Etsy
- Videos: YouTube channels offer visual guides
- Books: Look in local libraries or bookstores
Join crochet communities to share ideas and get feedback. Connecting with others can provide inspiration and further learning opportunities.
Caring for and Gifting Your Crochet Bears
Taking care of your crochet bears ensures they look their best. Gentle hand washing with mild soap keeps them clean. Avoid harsh chemicals to prevent damage.
When gifting, consider the recipient’s preferences:
- Personalize with accessories like hats or scarves
- Attach a handwritten note for a personal touch
- Use eco-friendly packaging for a thoughtful presentation
Proper care and thoughtful gifting make your crochet bears cherished keepsakes.
Conclusion: Enjoy the Creative Journey
Crocheting bear patterns offers more than a finished project. It’s about honing skills and igniting creativity. Every step, from choosing yarn to finishing touches, is a part of this fulfilling craft journey.
Embrace the process and the learning it brings. Share your creations with friends or online communities for support and inspiration. Enjoy every stitch as you create something truly special!


Easy Free Crochet Chicken Pattern Tutorial
Create your own charming crochet companion with this easy, free crochet chicken...
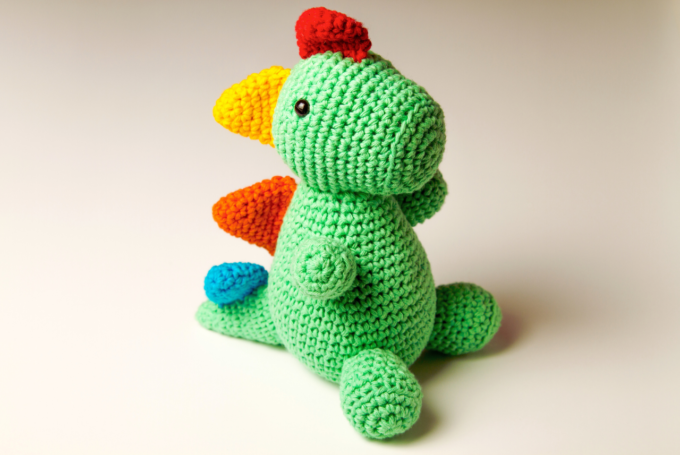
Create Your Own Dinosaur Crochet Pattern
Craft your own dinosaur crochet pattern with ease! Discover tips and free...

Creative Crochet Patterns for Soft Toys
Discover enchanting soft toy crochet patterns perfect for all skill levels. From...
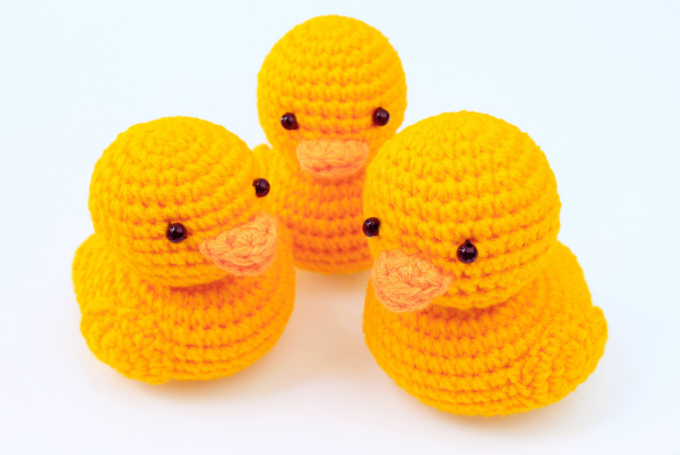
Charming Duck Crochet Patterns for Beginners
Discover charming duck crochet patterns perfect for beginners! Learn to craft cute...

Leave a comment