How to Crochet a Circle: Step-by-Step Circle Crochet Pattern
Master the art of creating a perfect circle with our comprehensive circle crochet pattern guide. Learn essential techniques and troubleshooting for beginners.
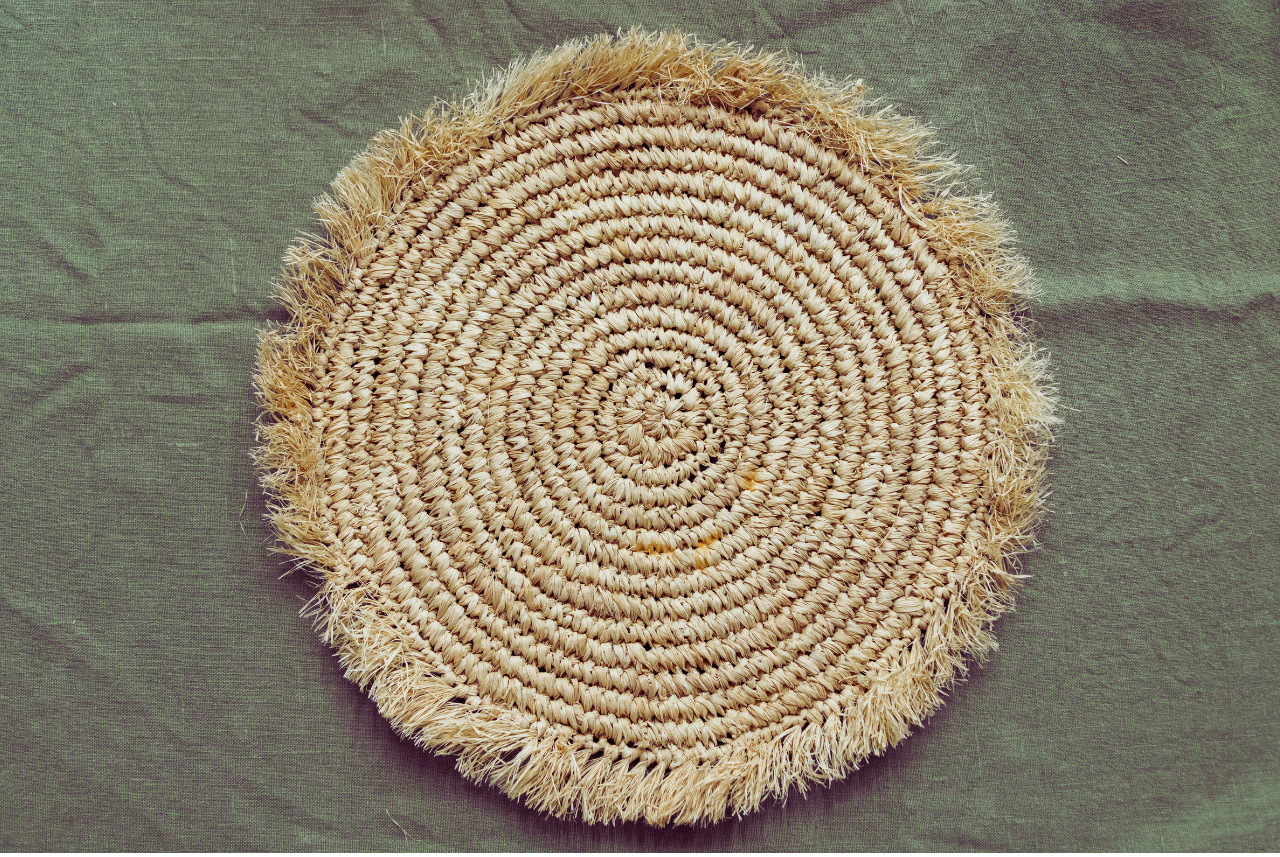
Creating a perfect crochet circle can be a challenging yet rewarding endeavor. This crochet circle tutorial serves as a circle crochet pattern for beginners, showing how to make a circle crochet piece step by step so you can crochet a perfect circle for coasters, hats, or the base of a basket. This guide will take you through the process, ensuring you gain confidence in your crochet skills.
Before diving into the actual crocheting process, it’s crucial to understand the foundational aspects of crochet circles. If you’re new to circular crochet and wondering how to start a circle in crochet, the following sections outline each stage clearly.

Selecting the right yarn and hook is pivotal for the success of your crochet project. The thickness of the yarn affects the size and texture of your circle. A bulkier yarn will produce a larger, thicker circle, whereas a finer yarn results in a delicate and smaller piece. These choices apply to any circular crochet pattern you plan to follow.
Choosing the right hook size is equally important. The hook should correspond to the yarn’s thickness; this ensures that your stitches are even and uniform. Additionally, experimenting with different hook materials such as aluminum, bamboo, or plastic can affect your grip and comfort during the process, especially in longer circular crochet sessions.
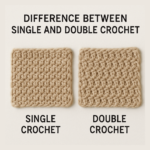
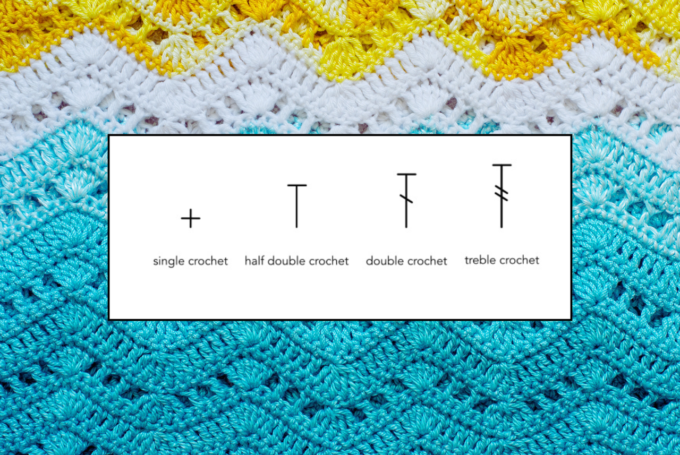
Stitches are the building blocks of crochet projects. In circles, the most commonly used stitches are the chain stitch, slip stitch, and double crochet stitch. Each stitch type has a distinct purpose in the formation of a circle, and they are the core of circle stitch crochet techniques.
The chain stitch is often used to start the circle, providing a foundation. Slip stitches are used to join rounds seamlessly, creating a smooth transition between rows. Double crochet stitches allow for expansion, preventing the circle from curling or forming a cone shape. Mastering these stitches is fundamental in achieving a perfect circle.
Tension refers to the tightness or looseness of your crochet stitches. Maintaining consistent tension is crucial for a uniform circle. If your tension varies, the circle may appear wavy or uneven. Good tension control is key when following any circle crochet pattern.
Practicing tension control can be achieved by working on small sample pieces before starting your project. This practice helps you develop a feel for the yarn and hook, ensuring that your stitches are even and consistent throughout your work.
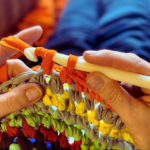
Once you have a firm grasp of the basics, you can begin crocheting your circle. This process involves several key steps and is a straightforward approach to crochet in a circle for beginners.
The foundation ring is the starting point of your circle. It’s typically created using a slip knot followed by a series of chain stitches. The number of chain stitches will determine the circle’s initial size an essential tip in any crochet circle pattern for beginners.
To form the foundation ring, create a slip knot on your hook. Then, make a series of chain stitches, usually between 4 to 6, and join the last chain to the first with a slip stitch to form a ring. This ring will be the base from which your circle expands and is a standard method for how to start a circle in crochet.
In the first round, you’ll begin filling the foundation ring with stitches. This is crucial for setting the circle’s shape.
Start with a chain stitch to bring the yarn to the correct height. Then, work a series of double crochet stitches into the center of the foundation ring. The number of stitches typically ranges from 6 to 12, depending on the desired size and yarn type. Join the last stitch to the first with a slip stitch, completing the first round. If you like visual aids, a crochet circle pattern diagram can help you track your stitch placement.
As you continue to crochet, increasing stitches is vital to maintain the circle’s flatness. Without increases, the circle will cup or form a cone.
In the second round, increase by working two double crochet stitches into each stitch from the previous round. This doubles the stitch count and ensures the circle remains flat. In subsequent rounds, space out the increases evenly, typically in every other stitch, to maintain the circle’s shape. Many makers find it helpful to reference a crochet round increase chart or a crochet circle increase chart to keep increases even.
After establishing the first few rounds, it’s time to expand and shape your circle further.
A consistent increase pattern is key to a smooth and even circle. As you add more rounds, the number of stitches between increases will grow. This strategy underpins most circular crochet patterns.
For instance, in the third round, you may increase every third stitch, in the fourth round every fourth stitch, and so on. This gradual increase ensures the circle expands uniformly without forming waves or puckering.
Regularly checking your work as you crochet helps you spot and correct any mistakes early. Lay your circle flat after each round to inspect its shape and flatness.
If the circle begins to ruffle or curl, it may indicate too many or too few increases. Adjusting the stitch count in the next round can remedy this issue. Remember, a well-formed circle should lie flat without tension. Over time, you’ll develop a reliable, repeatable circle crochet pattern that suits your yarn and hook.
Different projects may require circles of varying sizes and shapes. Customizing your circle involves adjusting the number of rounds and increases to suit your project’s needs. Think of this guide as a free circle crochet pattern you can adapt.
For smaller projects like coasters, fewer rounds and increases are necessary. For larger projects like rugs or blankets, you’ll need more rounds and increases. Understanding how to adapt your circle allows for creative freedom in your crochet endeavors, whether you follow a circular crochet pattern or design your own.

Even experienced crocheters encounter challenges when making circles. Being aware of common issues can help you overcome them swiftly.
Uneven edges can occur due to inconsistent tension or incorrect stitch counts. Ensuring even tension and double-checking your stitch count at the end of each round can prevent this issue.
If uneven edges persist, try adjusting the type of increase or the placement of increases within the round. Small changes can significantly impact the final appearance of your circle.
Curling or ruffling often results from improper increases. If the circle curls, there may be too few increases; if it ruffles, there may be too many.
To fix curling, add more increases in the next round. For ruffling, reduce the number of increases. Experimenting with different increase placements can help achieve the desired flatness.
Mistakes are part of the learning process, but they don’t always require starting over. If you notice a mistake, such as a missed stitch, use a crochet hook to carefully undo the stitches back to the error.
After correcting the mistake, continue crocheting as usual. Learning to fix mistakes on the go saves time and enhances your crochet skills.
After achieving the desired size and shape, it’s time to finish your crochet circle. Proper finishing techniques ensure a polished look.
Securing the final round involves completing the last stitch and fastening off the yarn. After the last stitch, cut the yarn, leaving a few inches for weaving.
Pull the yarn through the last stitch to secure it. This prevents unraveling and keeps your circle intact.
Weaving in the loose ends is essential for a neat appearance. Use a tapestry needle to thread the yarn ends through the stitches, hiding them within the circle.
Ensure the ends are secured by weaving in multiple directions. This prevents the ends from slipping out and maintains the circle’s tidy look.
Blocking is the final step to perfect your circle’s shape. It involves wetting or steaming the circle and pinning it to a flat surface to dry.
Blocking helps even out stitches and enhances the circle’s overall appearance. It’s especially useful for projects that require precise dimensions or a professional finish. With practice, you’ll have a dependable circle crochet pattern you can reuse and modify across projects.

Exploring types of crochet patterns stitches Techniques
Discover the art of different kinds of crochet stitches with our detailed...

Understanding Crochet RS: Techniques and Tips
Master crochet RS techniques and terms with our guide. Discover what RS...
Step-by-Step Guide to Crochet Joined Rounds
Learn how to master crochet joined rounds with this step-by-step guide. Enhance...
How to teach someone to crochet
Master the art of teaching crochet with step-by-step lessons. Learn how to...


Leave a comment