How To Crochet Turtles for Beginners Guide 2026
Learn how to crochet a turtle with ease in this step-by-step beginners guide. Discover free patterns and tips to create charming crochet turtles today!
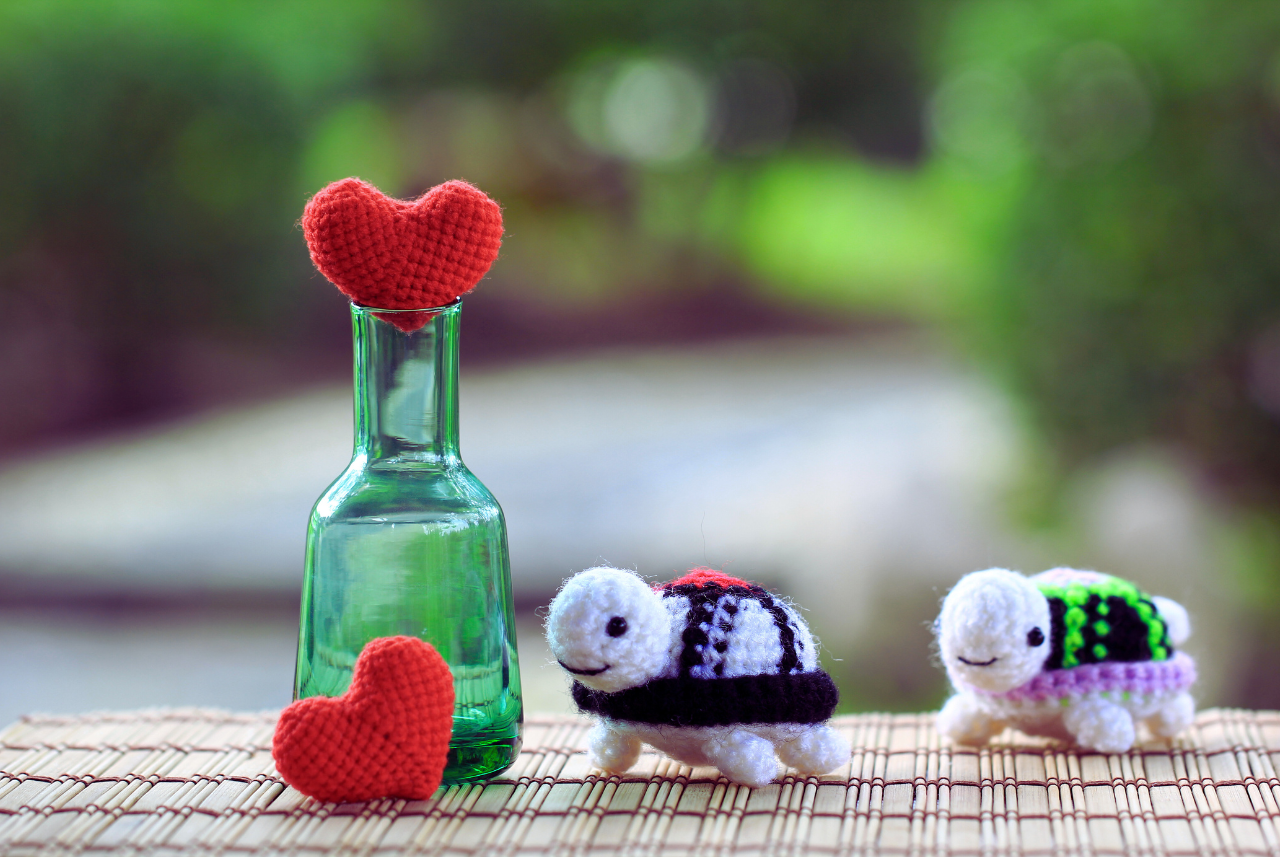
Welcome, crochet enthusiasts and aspiring turtle makers! If you’ve ever been enchanted by the charm of crocheted turtles and wondered how to create one yourself, you’re in the perfect place. This guide is designed for everyone, from complete beginners to seasoned crafters seeking to expand their collection with an adorable turtle. So, prepare your hooks, gather your yarn, and let’s embark on this delightful turtle crocheting journey together!
Foundational elements of crocheting turtles
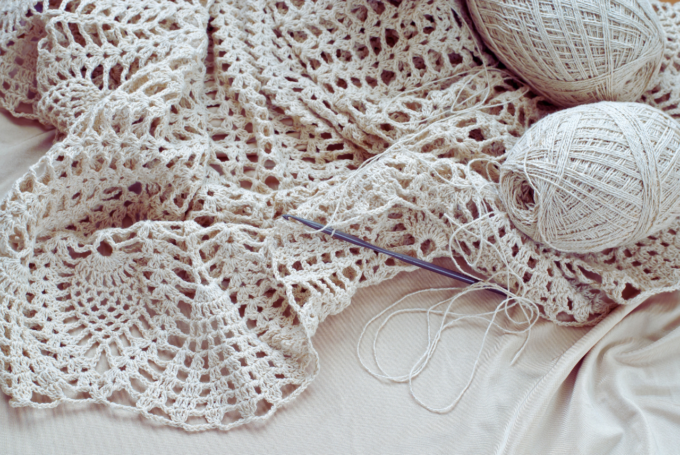
Before diving into the patterns, it’s essential to familiarize yourself with the foundational elements of crocheting turtles. Understanding the materials and basic stitches will set you up for success.

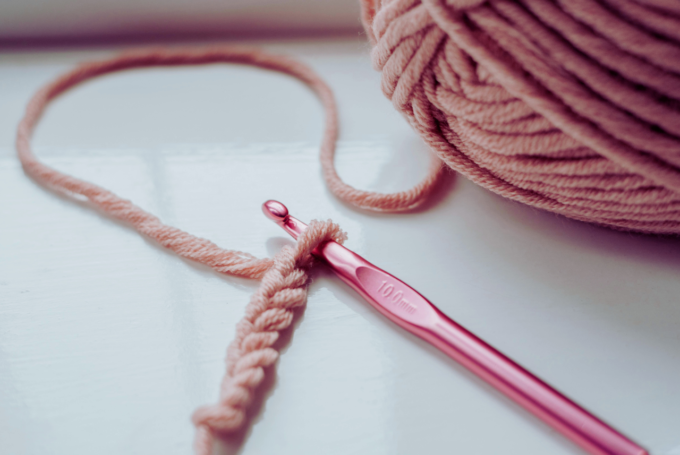
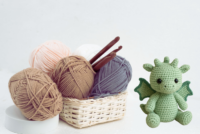
Right Materials
Your turtle-making adventure begins with gathering the right materials:
- Yarn: Select a soft and durable yarn in colors that appeal to you. While greens and browns are classic choices for turtles, don’t hesitate to explore vibrant hues or pastels for a unique twist. The yarn’s texture can also impact the final look, so consider experimenting with different types.
- Crochet Hook: Choose a hook size that complements your yarn selection. An H/8 (5 mm) hook is commonly used, but adjusting the size can help achieve different effects or cater to personal preferences.
- Stuffing: Fiberfill is essential for giving your turtle that delightful, plump appearance. Ensure you have enough on hand to fill your turtle to your desired firmness.
- Yarn Needle: A yarn needle is indispensable for weaving in ends and sewing pieces together seamlessly. Opt for a blunt-tipped needle to avoid splitting the yarn.
- Scissors: Sharp scissors are crucial for cutting yarn cleanly. Consider keeping a dedicated pair in your crochet kit.
Understanding basic stitches
Understanding basic stitches is key to crafting a charming crochet turtle:
- Chain (ch): This foundational stitch creates the base of most crochet projects. Mastering it will facilitate smooth progression in your work.
- Single Crochet (sc): This simple yet versatile stitch forms the main fabric of your turtle. It’s essential for creating dense and robust pieces.
- Increase (inc): Increasing involves adding extra stitches to expand your work. It’s crucial for shaping the turtle’s body and shell.
- Decrease (dec): Decreasing reduces the number of stitches, enabling you to taper and shape your crochet pieces effectively.
With your materials and stitches mastered, it’s time to dive into the step-by-step process of bringing your turtle to life.

The turtle’s shell is its most distinctive feature, and crafting it is a rewarding start to your project.
- Magic Circle: Begin with a magic circle, an essential technique for creating a tight, seamless starting point. Work 6 single crochets (sc) into the ring.
- Round 1: Increase in each stitch around to expand your circle to 12 stitches.
- Round 2: Alternate between 1 single crochet and an increase around the circle, resulting in 18 stitches.
- Round 3: Continue with 2 single crochets followed by an increase, reaching 24 stitches.
- Rounds 4-6: Single crochet in each stitch around, maintaining the shell’s shape.
- Round 7: Begin tapering the shell with 2 single crochets followed by a decrease, reducing to 18 stitches.
- Round 8: Further decrease by alternating between 1 single crochet and a decrease, bringing the count to 12 stitches.
- Round 9: Complete the shell by decreasing in each stitch, finishing with 6 stitches.
Fasten off, leaving a long tail for sewing. Lightly stuff the shell with fiberfill to achieve your desired plumpness.
The turtle’s body
The turtle’s body serves as the anchor for all its features, so crafting it well is crucial.
- Magic Circle: Start with a magic circle, inserting 6 single crochets into it to begin shaping the body.
- Round 1: Increase in each stitch to reach 12 stitches, forming the body’s base.
- Round 2: Work 1 single crochet followed by an increase around, expanding to 18 stitches.
- Round 3: Continue with 2 single crochets and an increase, reaching 24 stitches.
- Rounds 4-7: Single crochet in each stitch to build the body’s height and volume.
- Round 8: Shape the body by alternating 2 single crochets and a decrease, reducing to 18 stitches.
- Round 9: Conclude with 1 single crochet and a decrease around, finishing at 12 stitches.
Firmly stuff the body, ensuring it holds its shape, and fasten off with a long tail for attachment.
Flippers and a tail add character and functionality to your turtle, enhancing its cuteness.
- Flippers (Make 4): Start each flipper with a magic circle, working 4 single crochets into it. In Round 1, increase each stitch to 8 stitches. Fasten off, leaving a tail for sewing.
- Tail: Create the tail by chaining 4, then single crocheting in the second chain from the hook across. Fasten off, leaving a tail for attachment.
Final Step
Bringing your turtle pieces together is the final step in this creative journey.
- Attach the Body to the Shell: Use the body’s long tail to sew it securely onto the shell, ensuring it’s centered and stable.
- Add Flippers: Sew the flippers onto the turtle’s body, spacing them evenly for a balanced look and ensuring they are securely attached.
- Attach the Tail: Sew the tail onto the back of the body, completing the turtle’s profile.
- Finish: Weave in any loose ends, ensuring a clean finish, and fluff up your turtle to achieve the desired appearance.
- Use Stitch Markers: Keeping track of your rounds with a stitch marker can significantly enhance your precision and efficiency.
- Adjust Size: For a larger turtle, experiment with thicker yarn and a bigger hook, or vice versa for a smaller creature.
- Experiment with Colors: Don’t hesitate to mix and match different colors to personalize your turtle and make it stand out.
- Pattern Variations: Add variety to your creations by experimenting with different textures or embellishments, such as small buttons for eyes or embroidered details.

And there you have it! Your very own crochet turtle, ready to be cherished or gifted. With these straightforward steps, you can quickly create a family of turtles in diverse sizes and colors. Whether crafting a tiny turtle as a thoughtful gift for a newborn or designing a large plush turtle for your enjoyment, crocheting turtles is both a fun and rewarding endeavor.
Remember, every turtle you create is a testament to your creativity and patience. As you hone your skills, each new turtle will bring its own charm and uniqueness. Happy crocheting, and may your turtles bring endless joy and smiles to your world!
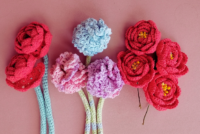

Creating a Beautiful Crochet Flower Bouquet
Craft a stunning crochet flower bouquet with our easy-to-follow patterns. Perfect for...
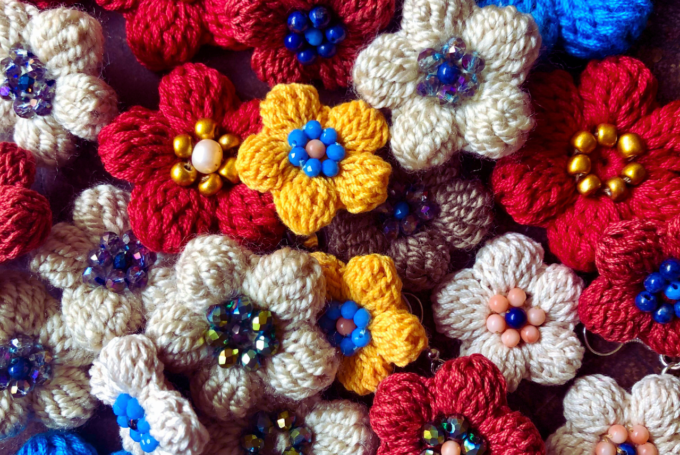
Understanding the Crochet Shell Stitch Basics
Learn the crochet shell stitch to add elegance to your projects. Ideal...

Easy Free Crochet Chicken Pattern Tutorial
Create your own charming crochet companion with this easy, free crochet chicken...
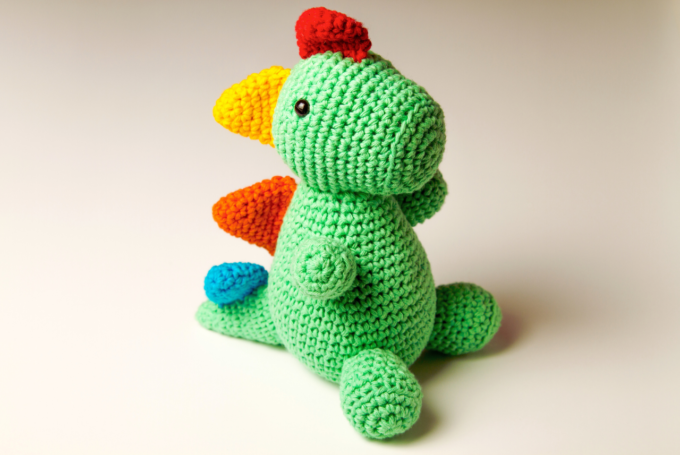
Create Your Own Dinosaur Crochet Pattern
Craft your own dinosaur crochet pattern with ease! Discover tips and free...

Leave a comment