How to Creating Adorable Crochet Turtles for Beginners
Learn how to crochet an adorable turtle with our beginner-friendly guide. Master basic stitches and create a charming crochet turtle plush that's perfect for gifts.
Hey there, crochet enthusiasts! If you’ve been itching to create something irresistibly cute and fun, you’re in the right place. Today, we’re diving into the delightful world of crochet turtles! These adorable little critters are perfect for beginners, and I’m here to guide you through every stitch of the journey. Whether you’re looking to make a heartfelt gift or simply want to add a touch of whimsy to your home decor, crochet turtles are a fantastic choice.
Crochet turtles not only offer a wonderful way to practice your skills but also provide a creative outlet that results in something tangible and joyful. As you embark on this crochet journey, you’ll find that these little turtles can be customized in countless ways, allowing you to express your creativity and personal style. So, let’s get those hooks ready and dive into the world of crochet turtles together!

Why Crochet Turtles?
Before we grab our hooks, let’s talk about why turtles are the perfect project for newbie crocheters. First off, turtles are universally adored. Who can resist their charming little faces and slow-motion antics? Plus, crochet turtles make fantastic gifts for newborns, kids, or anyone who loves a touch of whimsy in their lives. Their appeal spans across all ages, making them a versatile project that can be enjoyed by everyone.
Another reason turtles are a great beginner project is their simplicity. With basic stitches and a bit of patience, you’ll have your own turtle buddy in no time. The straightforward construction of a turtle allows beginners to focus on mastering essential techniques without feeling overwhelmed. Moreover, the satisfaction of completing your first crochet turtle can be incredibly motivating, encouraging you to explore more complex patterns in the future. Let’s get started!
Gathering Your Supplies
Before we dive into the world of crochet turtles, you’ll need a few supplies. Don’t worry; you probably have most of these around the house:
- Yarn: Opt for cotton or acrylic yarn. You can choose any color, but green and brown are classic turtle shades. Experimenting with different colors can give your turtle a unique personality, whether it’s a vibrant rainbow turtle or a more traditional design.
- Crochet Hook: A size G/4.0 mm hook is perfect for this project. This size is manageable for beginners and works well with the recommended yarn types, ensuring your stitches are neither too tight nor too loose.
- Scissors: For trimming yarn ends. A sharp pair will make cutting clean and easy, preventing any frayed edges on your finished turtle.
- Yarn Needle: Handy for weaving in loose ends. A blunt-tipped needle is ideal for this task, helping you to seamlessly integrate ends into your work without splitting the yarn.
- Stuffing: Polyfill is great for giving your turtle a plump, cuddly body. This material is easily available and provides a soft, huggable texture, perfect for plush toys.
Optional extras include safety eyes for a polished look or embroidery floss for adding facial features if you prefer not to use plastic eyes. Safety eyes can add a professional finish to your turtle, while embroidery allows for more personalization and creativity. Consider your preferences and the intended recipient’s age when making these choices.

Getting to Know the Basic Stitches
If you’re new to crochet, fear not! We’ll stick to the basics, ensuring that you build a strong foundation in crochet techniques. Understanding these fundamental stitches will not only help you create adorable turtles but also open the door to countless other crochet projects.
Chain Stitch (ch)
This is the foundation of most crochet projects. To create a chain stitch, make a slipknot on your hook, yarn over, and pull through the loop on your hook. Repeat until you have your desired chain length. The chain stitch is versatile and forms the backbone of many patterns, so mastering it will serve you well in any crochet endeavor.
Single Crochet (sc)
Insert your hook into the stitch, yarn over, and pull through so you have two loops on your hook. Yarn over again and pull through both loops. Easy peasy! The single crochet is a staple stitch that creates a tight, dense fabric, perfect for amigurumi projects like our turtle.
Slip Stitch (sl st)
Insert your hook into the stitch, yarn over, and pull through both the stitch and the loop on your hook. It’s perfect for joining pieces together. The slip stitch is also useful for creating smooth edges and adding finishing touches to your work, making it an essential skill for any crocheter.
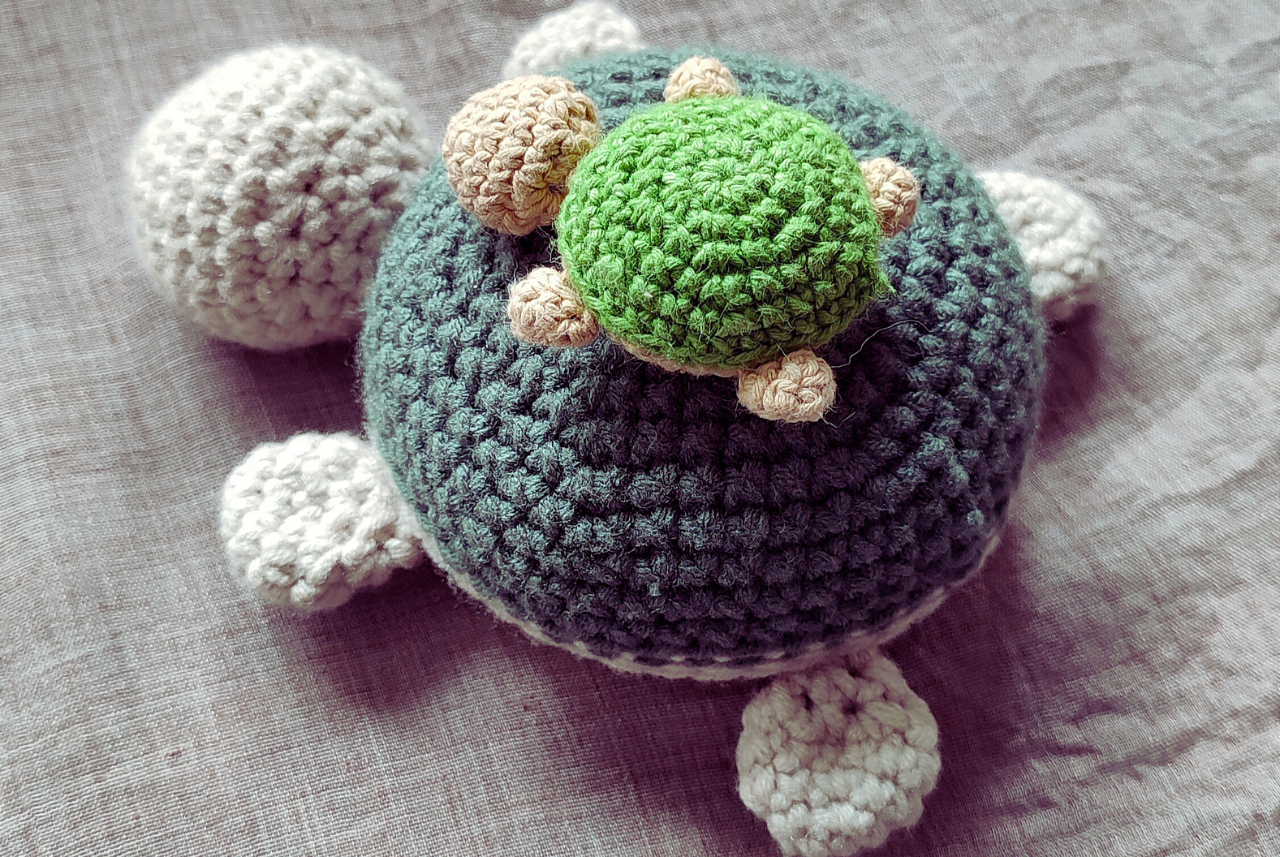
Step-by-Step Guide to Crochet a Tiny Turtle
Now that you’ve got your supplies and mastered the basic stitches, let’s make a tiny turtle. This pattern is no-sew, which means less hassle and more fun! By following these steps, you’ll create a charming little turtle that’s perfect for gifting or keeping as a delightful desk companion.
1: Crocheting the Shell
- Start with a magic ring. This technique creates a tight, adjustable loop that forms the center of your turtle’s shell.
- Round 1: Make 6 single crochets (sc) into the ring. Pull it tight to close. This forms the base of your shell, providing a sturdy foundation for the rest of your work.
- Round 2: Increase in each stitch around (12 sts). Increasing in this manner expands the shell evenly, creating a smooth dome shape.
- Round 3: 1 sc, 1 inc around (18 sts). Alternating between single crochets and increases helps maintain the shell’s rounded form.
- Round 4-6: Sc in each stitch around. These rounds build up the height of the shell, giving it depth and dimension.
2: Creating the Body
- Attach yarn to the first stitch of the shell. This seamless transition ensures that the body is securely connected to the shell.
- Round 1: Sc in each stitch around (18 sts). This round establishes the body, maintaining the shell’s circumference for a consistent shape.
- Round 2-4: Continue to sc in each stitch around. These rounds add height to the body, preparing it to be stuffed.
- Stuff the body with polyfill. Filling your turtle at this stage helps it take shape and ensures it’s cuddly and firm.
3: Making the Head
- Use the magic ring again, sc 6 into the ring. This creates a compact base for your turtle’s head.
- Round 2: Increase in each stitch around (12 sts). Expanding the head gives it a proportional size relative to the body.
- Round 3: Sc in each stitch around. This round solidifies the head’s shape, making it ready to attach.
- Attach the head to the body using slip stitches. Slip stitches provide a secure connection, ensuring the head stays in place.
4: Adding the Flippers and Tail
For the flippers and tail, simply attach yarn at your desired spot and chain 4 for each flipper, slip stitch back to the body. This simple technique creates cute, floppy flippers that add character to your turtle. For the tail, chain 2 and sl st back. The tail is a small but charming detail that completes your turtle’s look.
5: Finishing Touches
Add safety eyes or embroider a face onto your turtle. Personalizing your turtle’s face brings it to life, giving it personality and charm. Weave in any loose ends, and voila! You’ve got yourself a cute little turtle friend. Completing these final touches ensures your turtle is ready to be displayed or gifted, showcasing your hard work and creativity.

Exploring More Amigurumi Turtle Patterns
Once you’ve mastered your first turtle, why not explore more amigurumi turtle patterns? There are countless designs out there, from sea turtles to flat turtles, and even large plush versions! The world of amigurumi offers endless possibilities, allowing you to expand your skills and experiment with new techniques.
Tips for Success
- Choose the Right Yarn: Different yarns will give your turtle a different look. Experiment with colors and textures. Consider using variegated yarn for a unique pattern or textured yarn for a different feel.
- Keep Your Tension Consistent: This ensures your stitches are even and your turtle turns out just right. Practice makes perfect, so don’t be discouraged if your tension isn’t perfect at first.
- Don’t Rush: Take your time and enjoy the process. Crochet is as much about relaxation as it is about creation. Savor each moment of your crafting journey, allowing yourself to unwind and find joy in the art of crochet.
Conclusion
There you have it, folks! Creating adorable crochet turtles is not only a rewarding project for beginners but also a fantastic way to hone your skills and create delightful, handmade gifts. Whether you’re making a mini turtle or a large sea turtle plush, these little creatures are sure to bring a smile to anyone’s face. The satisfaction of completing a project and the joy it brings to others make crochet a truly fulfilling hobby.
So grab your hook, pick your yarn, and start crafting your very own crochet turtles today. Each turtle you create is a testament to your creativity and dedication, a small piece of art that reflects your unique style. Happy crocheting!


Easy Free Crochet Chicken Pattern Tutorial
Create your own charming crochet companion with this easy, free crochet chicken...
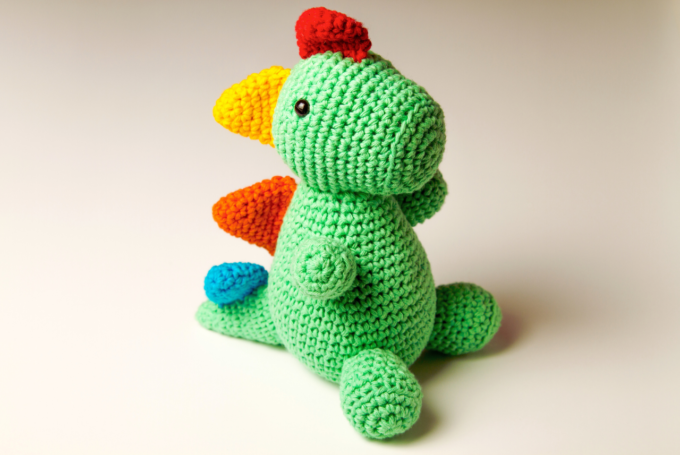
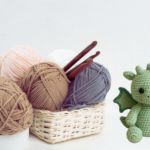
Create Your Own Dinosaur Crochet Pattern
Craft your own dinosaur crochet pattern with ease! Discover tips and free...

Leave a comment