How to Make a Chunky Crochet Beanie
Create a cozy chunky crochet beanie with our step-by-step guide. Perfect for all skill levels, this chunky crochet beanie pattern ensures style and warmth.
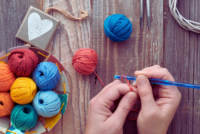
Hey there, crochet enthusiasts! If you’ve been itching to try your hand at making a super cozy and chunky crochet beanie, you’ve come to the right place. Whether you’re a seasoned pro or a beginner looking to dive into the world of crochet, this guide will walk you through every step of creating a fab chunky beanie using thick yarn. The beauty of crochet lies in its versatility and the personal touch you can add to every creation. So grab your hooks, some vibrant yarn, and let’s embark on this delightful crafting journey together!

Why Choose a Chunky Crochet Beanie?
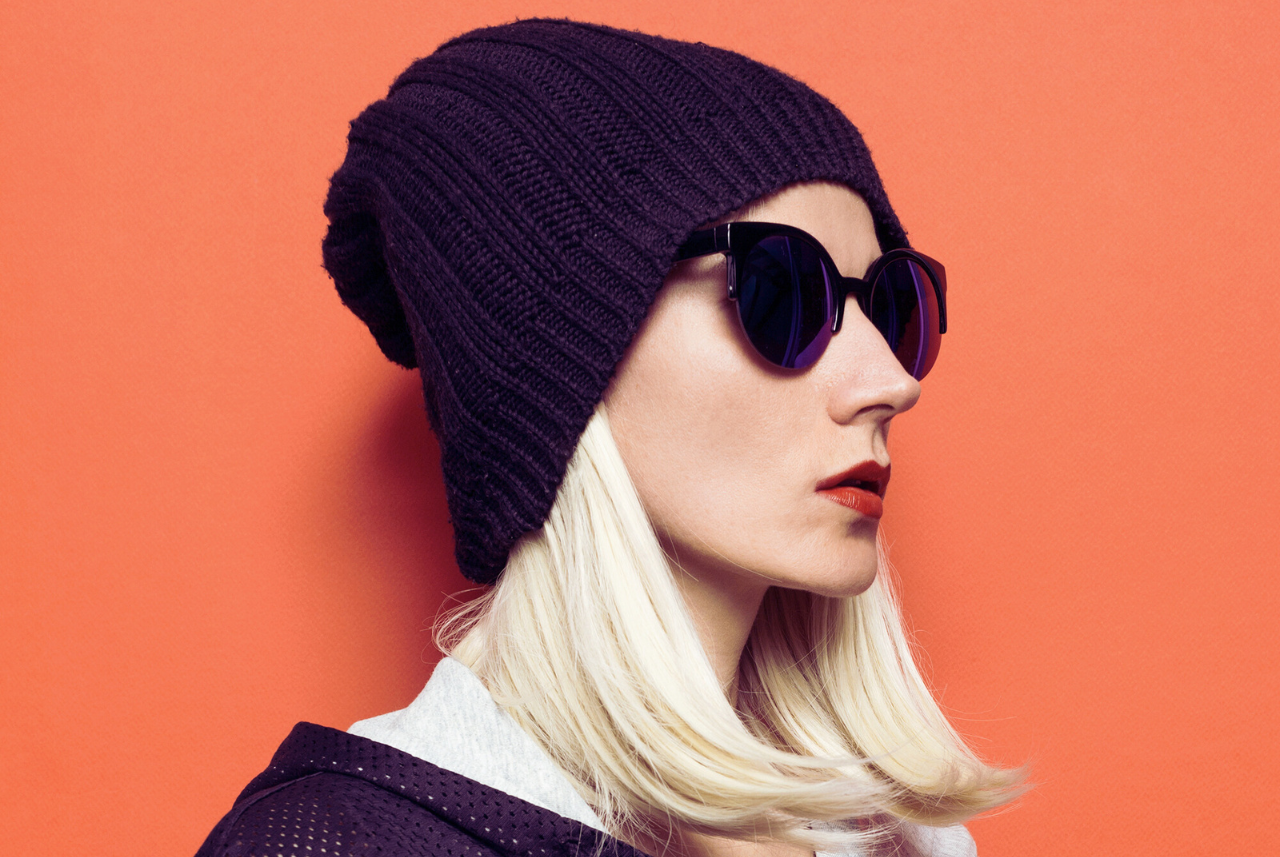
Chunky crochet beanies are not just a fashion statement; they’re like a warm hug for your head! The thick yarn makes them super cozy and perfect for those chilly days when you just need that extra bit of warmth. Beyond their practical use, chunky beanies have an undeniable charm that adds personality to any winter wardrobe. Plus, using super bulky yarn speeds up the process, meaning you can whip up a gorgeous beanie in no time.
Choosing to create a chunky beanie also allows for a great deal of customization. You can experiment with different colors, textures, and embellishments to make each hat unique. They are excellent projects for holiday gifts or personal wardrobe staples that can reflect your individual style. Moreover, the satisfaction of creating something warm and stylish with your own hands is unparalleled, making it a fulfilling project for crocheters of all levels.
Benefits of Using Bulky Yarn
- Quick to Make: The thicker the yarn, the faster the project comes together. You can make a beanie in just a few hours! This makes it an ideal project for those who love quick gratification or need last-minute gifts.
- Warm and Comfy: Thick yarn means your beanie will be extra warm, ideal for cold weather. The density of the stitches traps heat effectively, ensuring your head stays toasty even in the coldest climates.
- Fashionable: Chunky beanies are trendy and make for a great accessory to any outfit. They come in a variety of styles and can be dressed up or down, making them versatile additions to any wardrobe.
- Beginner-Friendly: The large stitches are easy to see, which is great if you’re new to crocheting. This visibility helps prevent mistakes and makes it easier to learn new stitches and patterns.
Gathering Your Supplies
Before you dive into crocheting your chunky beanie, make sure you have all the necessary materials. Having the right tools can make the process smoother and more enjoyable. Here’s what you’ll need:
Materials
- Super Bulky Yarn: Look for yarn labeled as “super bulky” or “size 6”. This is the secret sauce for that chunky look. Choose colors that resonate with you, whether you prefer classic neutrals or bold, vibrant hues.
- Crochet Hook: Typically, a size N/P (10 mm) or L (8 mm) hook works well with super bulky yarn. The right hook size ensures your stitches are the correct size, which is crucial for the overall fit and appearance of the beanie.
- Scissors: For trimming your yarn. A sharp pair of scissors will help you cut cleanly and neatly, which is important for a professional-looking finish.
- Tapestry Needle: For weaving in those pesky ends. A tapestry needle makes the final steps of your project easier, as you can neatly secure your yarn tails and ensure they don’t unravel.
Optional Extras
- Pom-Pom Maker: If you want to top off your beanie with a fluffy pom-pom. These tools make it easy to create uniform and full pom-poms that add a playful touch to your hat.
- Stitch Marker: Helps you keep track of rounds, especially useful if you’re new to crocheting in the round. They are invaluable for maintaining consistency and ensuring your pattern stays on track.

Step-by-Step Chunky Crochet Beanie Pattern
Alright, let’s get to the fun part! Follow these simple steps to crochet your very own chunky beanie. Each step is designed to build upon the previous one, creating a seamless and enjoyable crafting experience.
Step 1: Start with a Magic Circle
- Make a magic circle (also known as a magic ring) and secure it. This technique allows you to adjust the size of the initial loop, providing a seamless start to your project.
- Chain 2 (this does not count as a stitch here and throughout). The chain helps to lift the yarn to the correct height for your first row of stitches.
- Work 10 double crochets into the circle. This forms the base of your beanie and sets the foundation for the rest of your work.
- Pull the tail to close the circle tightly. This step is crucial for a neat finish, preventing a hole from forming at the top of your beanie.
- Join with a slip stitch to the top of the first double crochet. Joining the circle creates a seamless round, setting you up for the next rows of your beanie.
2: Increase the Crown
- Chain 2. This again sets the height for your next row, ensuring consistency in your stitches.
- Work 2 double crochets in each stitch around (20 stitches total). This increase is necessary to shape the crown of the beanie, allowing it to fit comfortably on your head.
- Join with a slip stitch to the top of the first double crochet. This step maintains the circular shape and prepares you for the next stage of your project.
3: Continue Increasing
- Chain 2. As before, this sets up the height for your next row of stitches.
- 1 double crochet in the first stitch, 2 double crochets in the next. Repeat from * to * around (30 stitches total). This staggered increase helps to gradually expand the size of the beanie, ensuring a comfortable fit.
- Join with a slip stitch to the top of the first double crochet. Completing this step secures your work and gets you ready for the body of the beanie.
4: Build the Body of the Beanie
- Chain 2. This prepares you for creating the consistent body of the beanie.
- Double crochet in each stitch around. This step creates the length of the beanie, allowing you to customize it to your preference.
- Join with a slip stitch to the top of the first double crochet. Ensure that the body remains uniform and neat.
- Repeat this round until your beanie reaches the desired length. Generally, 5-6 inches from the crown works well for adults. This repetition creates the bulk of your beanie, and you can adjust it to suit your style or head size.
5: Finishing Touches
- Fasten off and leave a long tail. This tail will be used to secure the final row and weave in the ends.
- Use the tapestry needle to weave in any loose ends. This step ensures your beanie looks polished and prevents unraveling.
- If you’re adding a pom-pom, attach it securely to the top of your beanie. Adding a pom-pom can give your beanie a playful and finished look.
Customizing Your Beanie
Want to add a personal touch to your beanie? Here are a few ideas that can elevate your creation to the next level:
- Color Block: Use different colors of yarn to create a striped or color block effect. This technique can add visual interest and make your beanie stand out.
- Pom-Poms: Add a pom-pom in a contrasting color for a pop of fun. This simple addition can transform a simple beanie into a statement piece.
- Ribbed Brim: Use front post and back post double crochets for a ribbed look around the brim. This adds texture and can help the beanie fit snugly around your head.
Tips for Success
- Tension is Key: Keep your stitches consistent. Not too tight, not too loose. This ensures your beanie has a smooth and uniform texture.
- Count Your Stitches: This helps prevent any accidental increases or decreases. Keeping track of your stitches ensures that your beanie maintains the correct shape.
- Experiment: Don’t be afraid to play around with different yarns and hooks to find what works best for you. Trying new combinations can lead to unique and exciting creations.
Conclusion
And there you have it! A chunky crochet beanie that’s not only stylish but also keeps you snug as a bug. Perfect for gifting or keeping all to yourself, these beanies are a testament to your creativity and skill. We hope you enjoyed this fun and easy pattern. Happy crocheting, and may your days be filled with yarn and cozy creations! Embrace the warmth and satisfaction of creating your own fashion pieces, and continue exploring the endless possibilities of crochet.


Leave a comment